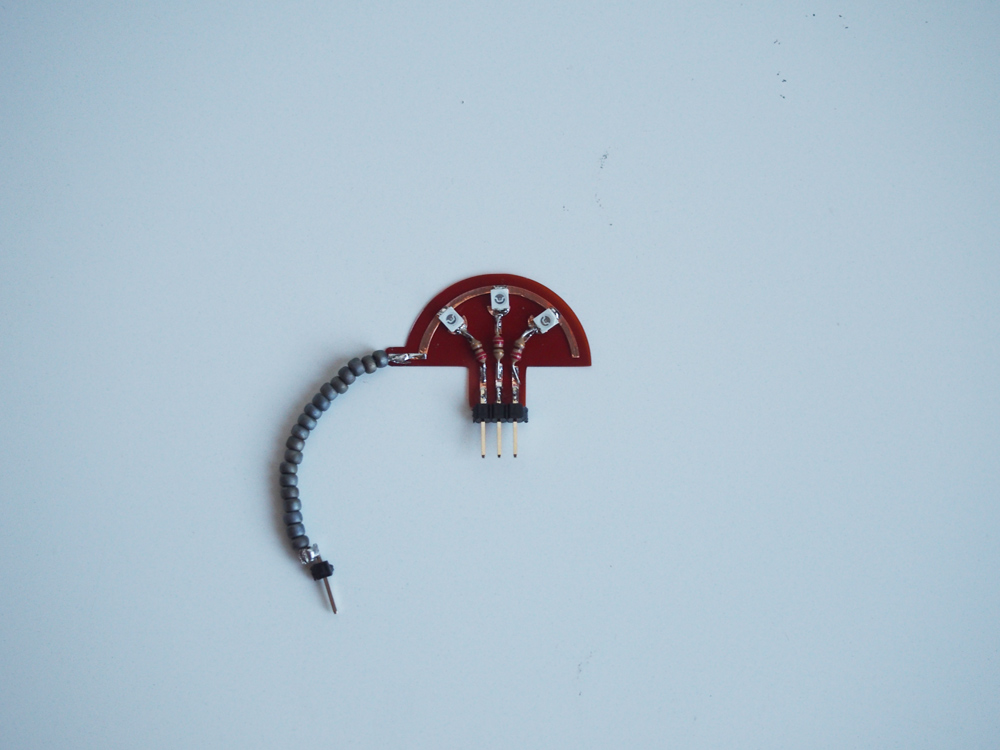
LED Sunset Tester

I have been wanting to play around with using Kapton sheets as a circuit base for a while now after seeing all the fun things Kobakant has been making with it (like this Ohm Broach). I decided to create a quick LED tester that I can plug right into the Arduino instead of having to hook LEDs up to a breadboard every time I want to test a sensor with output.
Materials: Kapton sheet (as thick as you can find), Copper foil sheet, 1210/3528 SMD LEDs, 220 Ohm 1/8th watt resistors, non-metal beads, male header pins, Karl Grimm High Flex 3981 conductive thread, contact paper, double-sided tape, crimp bead
Tools: Vinyl Cutter, Soldering iron and solder, scissors, needle, tweezers/small needle nose pliers
Resources: Illustrator file
-
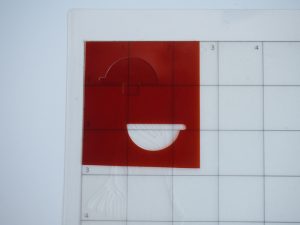
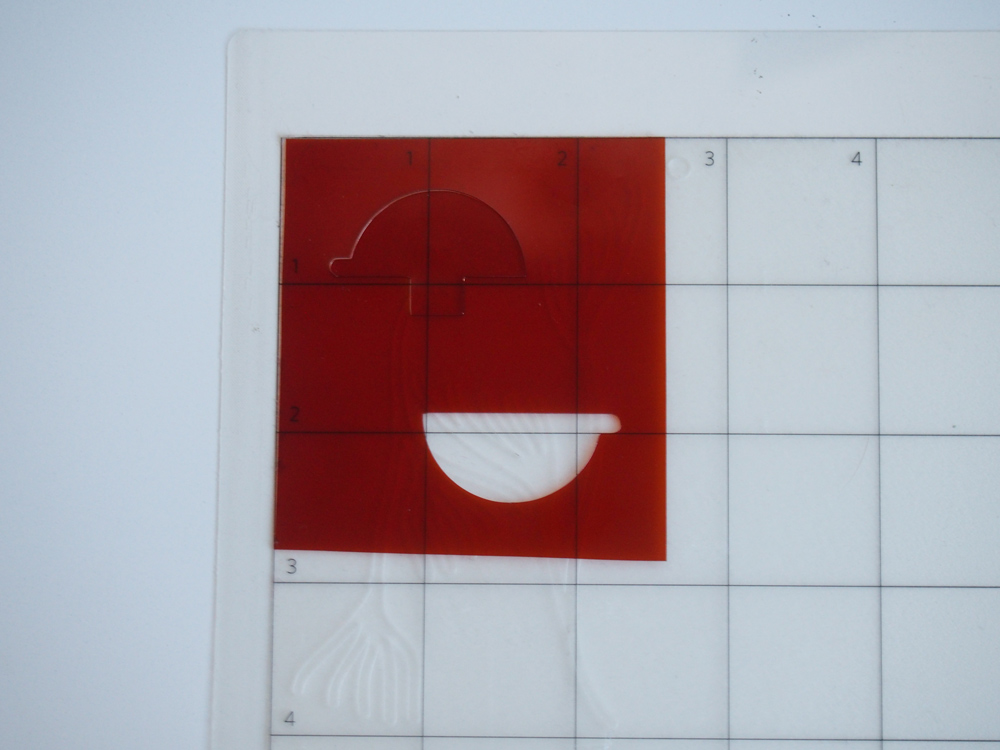
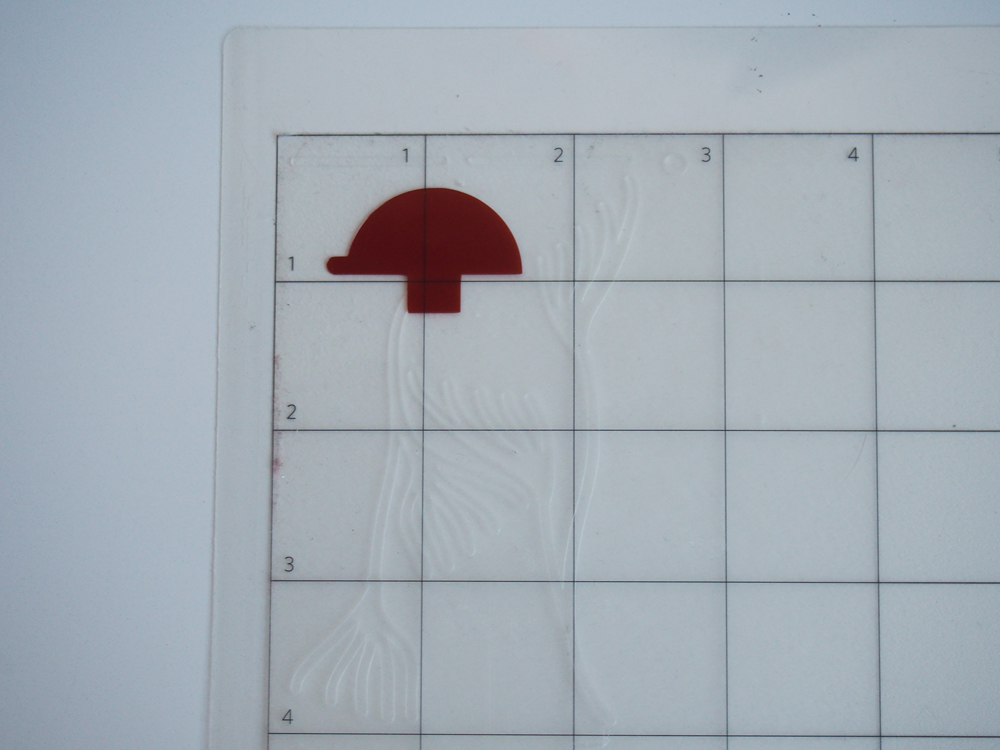
- Cut out the Kapton on a vinyl cutter
-
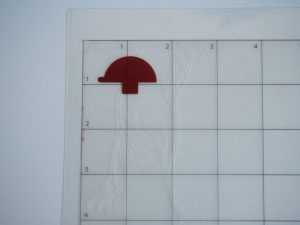
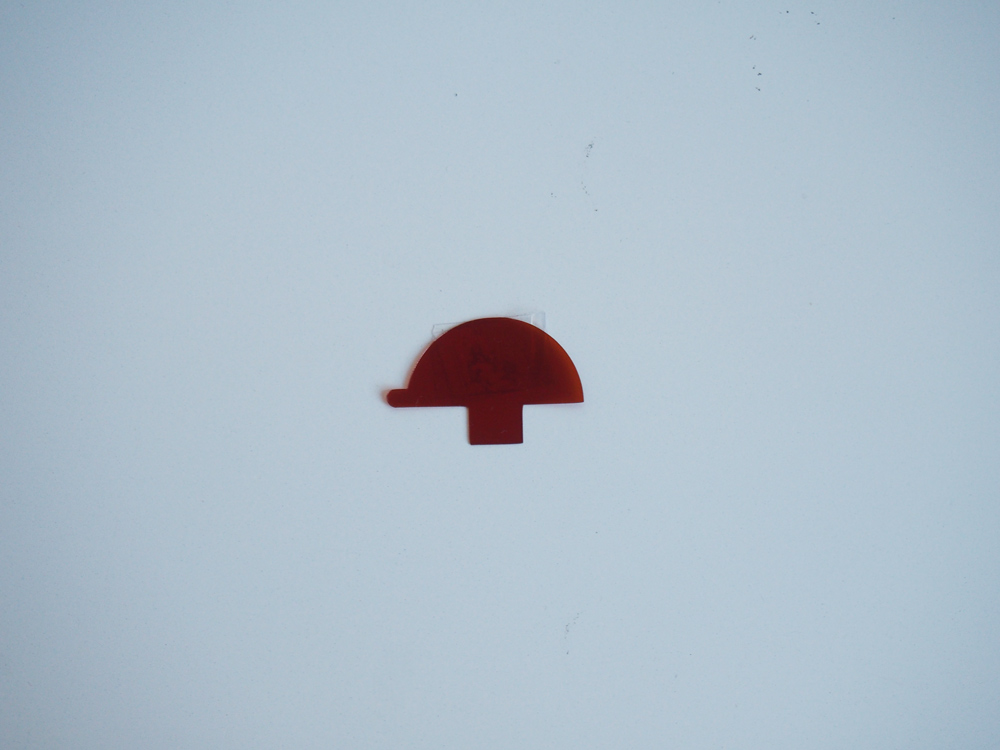
- Remove the extra Kapton
-
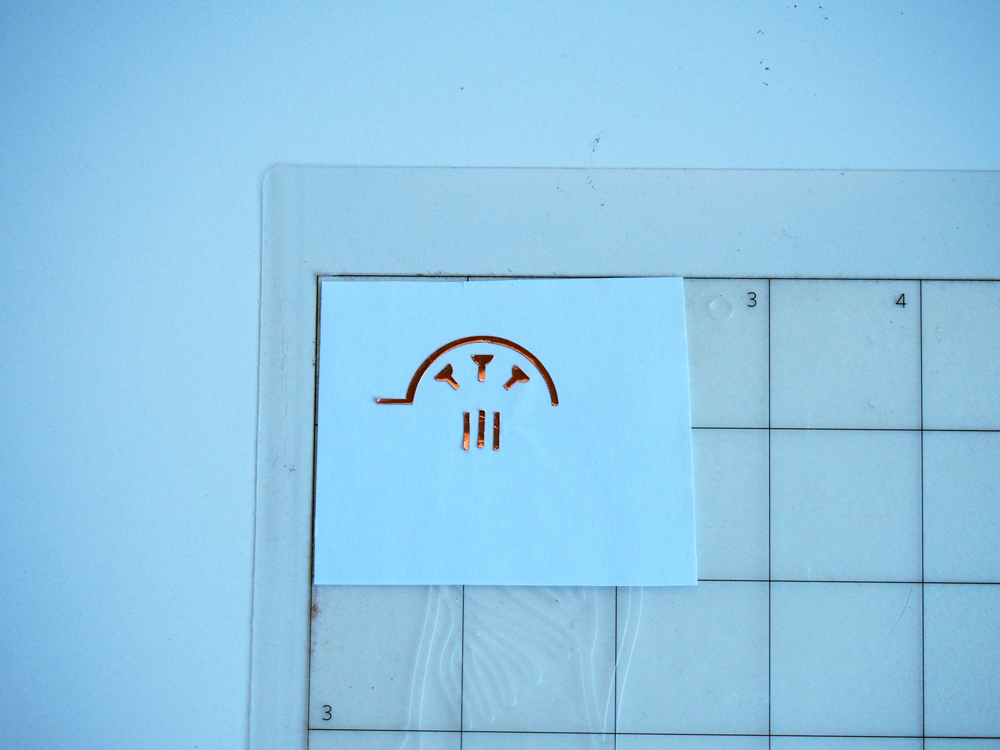
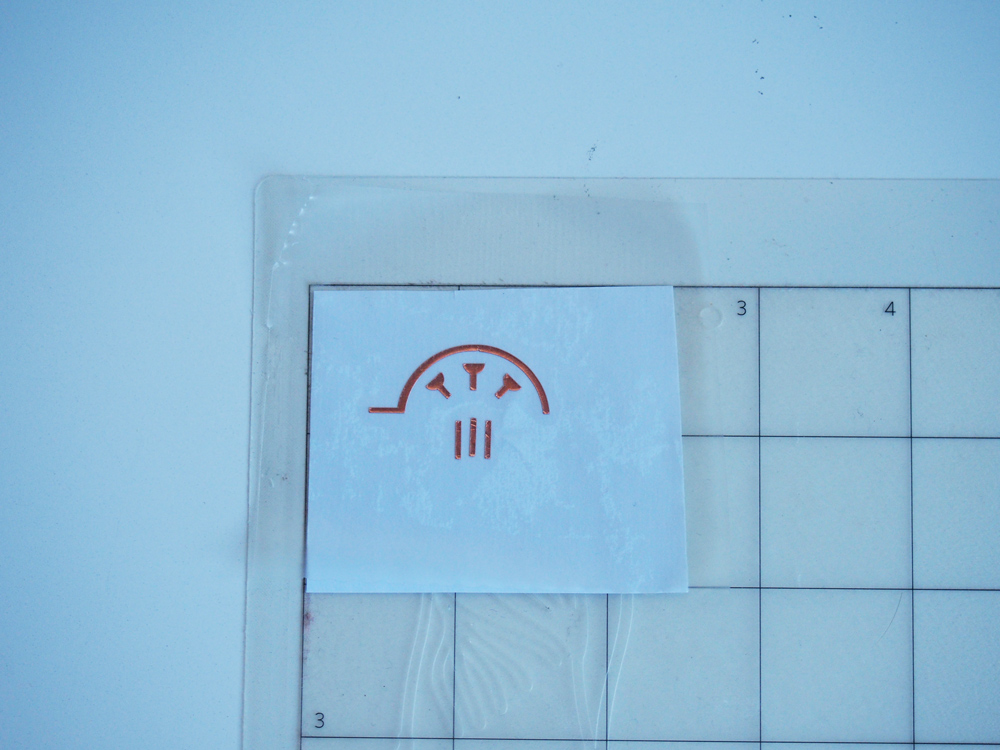
- Print the traces out of the copper foil sheet
-
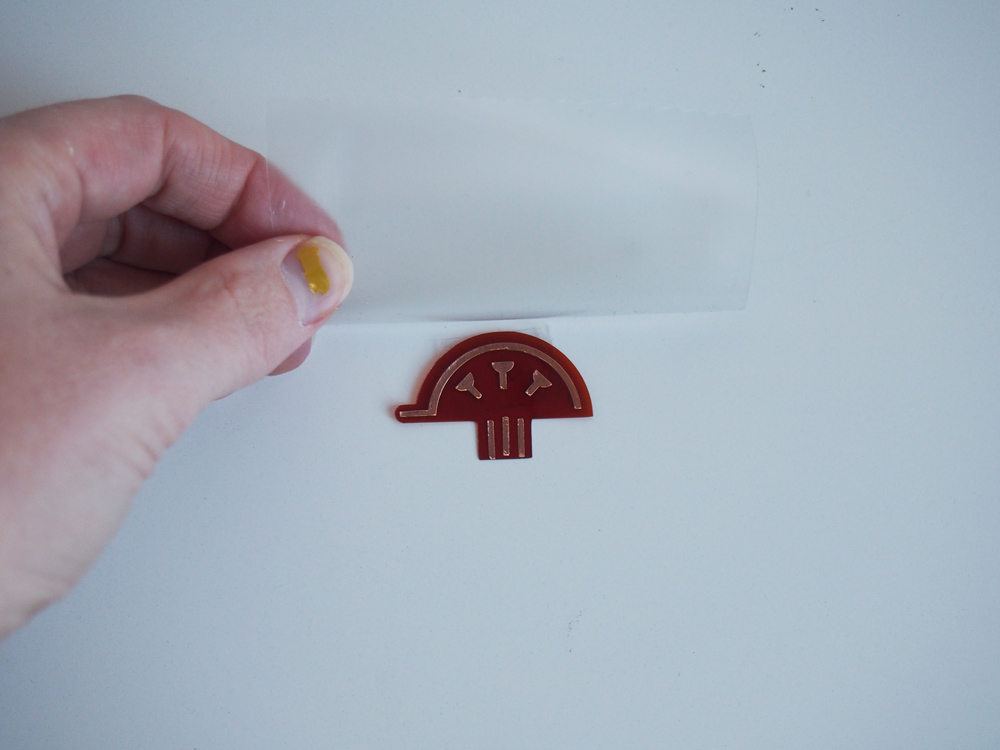
- Place a the contact sheet over the traces
-
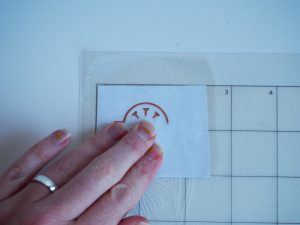
- Press down firmly, but carefully to avoid damaging the traces.

-
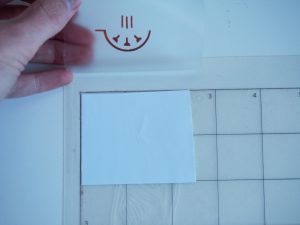
- Carefully remove the contact sheet, making sure all the traces come off onto it

-
- Place a piece of double-sided tape on the back of the Kapton to secure it down.
-

- Position the contact paper with the traces over the Kapton.

-

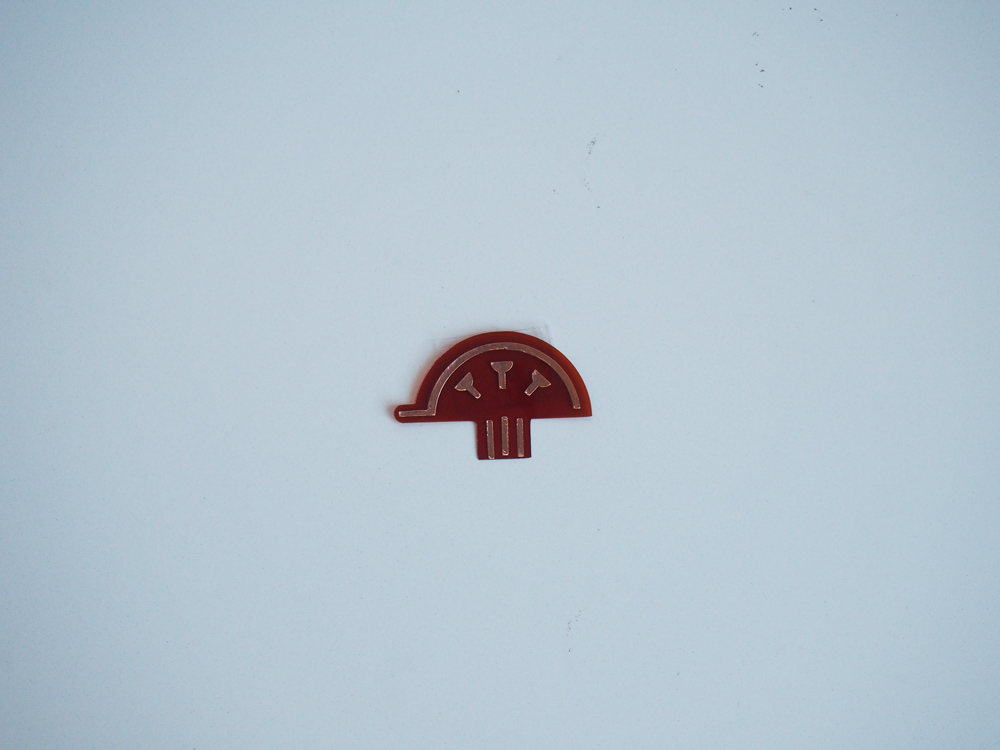
- Press down to stick the traces down, then carefully remove the contact paper.
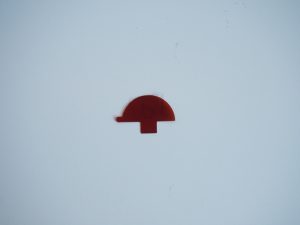
-
- You’re traces should now be attached to the Kapton cut out.
Soldering the circuit:

-

- Add solder to the gray points
-
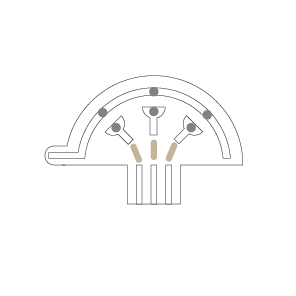
- Solder the resistors, then add solder to the gray dots for the LEDs. Negative on top, positive on the individual points.
-
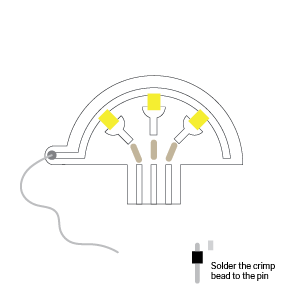
- Solder the thread to the end point. Solder the crimp bead to the header pin.
-
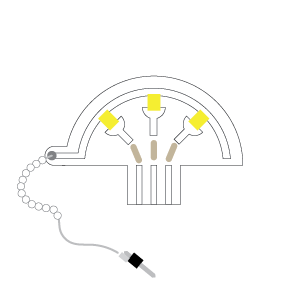
- Thread beads halfway up the thread, then thread it through the crimp bead 2-3 times.
-
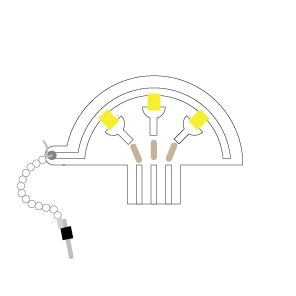
- Run the thread back up through the beads and solder the other side of the thread to the end