Fabric Speakers

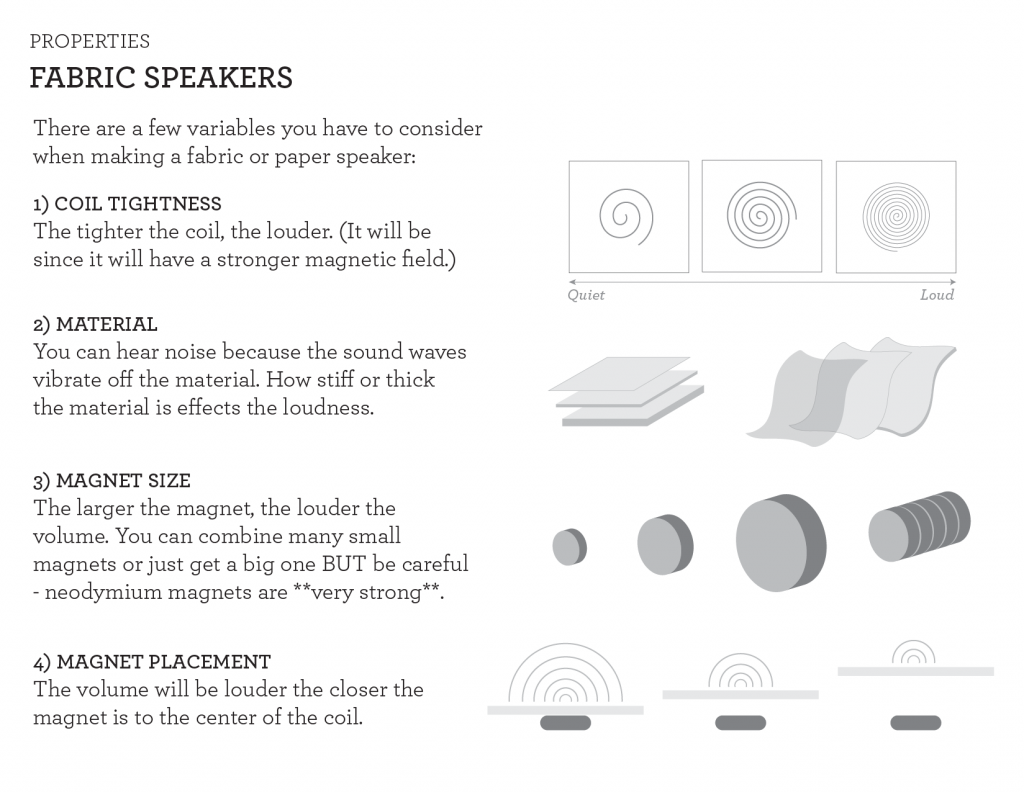
You can create a speaker out of a coil of conductive material, a strong magnet, a membrane, and an audio signal. Traditional speakers use harder components to build loud, efficient speakers. Here we will explore how they work and how to construct a textile speaker
What is Sound?
Sound is a type of energy made when something vibrates.
If you hit a drum (or any other object), the air particles around it vibrate. The air carries this energy in all directions in the form of sound waves. When these waves of vibrating particles reach your ears, it causes the hair in your ears to vibrate, which your brain reads as sound.
How a Speaker Works
You can create a temporary magnet by running current through a wire. This is called an electromagnet.
By coiling the wire, you can create a stronger field and start attracting objects.
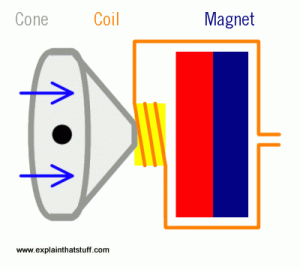
When you connect an audio signal to either end of your electromagnet (the coil), it forms a magnetic field. The magnetic field fluctuates based on the electrical frequencies of the audio signal. If you place a strong permanent magnet near the electromagnet (i.e. coil), the electromagnet’s field will attract and repel to the magnet’s field. The membrane will vibrate as the fields attract and repel, causing the air around it to move. This creates the waves that our brain interprets as sound!
Constructing a Textile Speaker
- Draw a coil on your fabric or paper. It can be any shape you like.
- Thread your needle with one strand of conductive thread. You can run wax over the end to get it through the hole.
- Tie a knot 5-6 inches from the end.
- Come up through the center of the piece of fabric.
- Stitch around the coil, making sure the conductive thread lines do not touch each other.
- Make sure the extra 5-6 inches of thread does not get sewn into the coil! We need to keep them separate.
Amplifying Sound
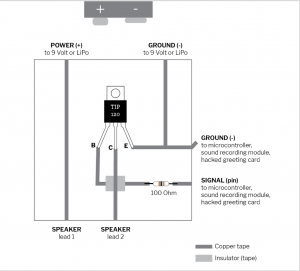
In order to use your speaker you need to have an audio signal and an amplifier. Here are a few options:
MONO AMP
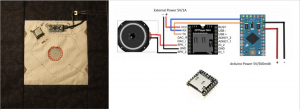
For a complete guide on building this circuit, see this post.

DFPLAYER MINI
For some information on using this component, see this post.


