Homebrew Sensors
Learning how to construct your own sensors is one of the coolest things ever. The soft circuit and e-textile movement become a big force in the Maker movement, gaining traction as an entry point for more populations to engage technology. Constructing these sensors is not difficult and fairly cheap. Once you gain a basic understanding of how these sensors work, design becomes the focus. It is a space ripe for tinkering and experimentation.
Below I have documented a pressure sensor and a bend sensor made of paper, copper tape, and velostat as an example. A few other people also have fantastic documentation of their making adventures in DIY electronics. More explanation and documentation coming soon on this specific project.
Materials
Paper
Copper Tape
Velostat
Artist Tape
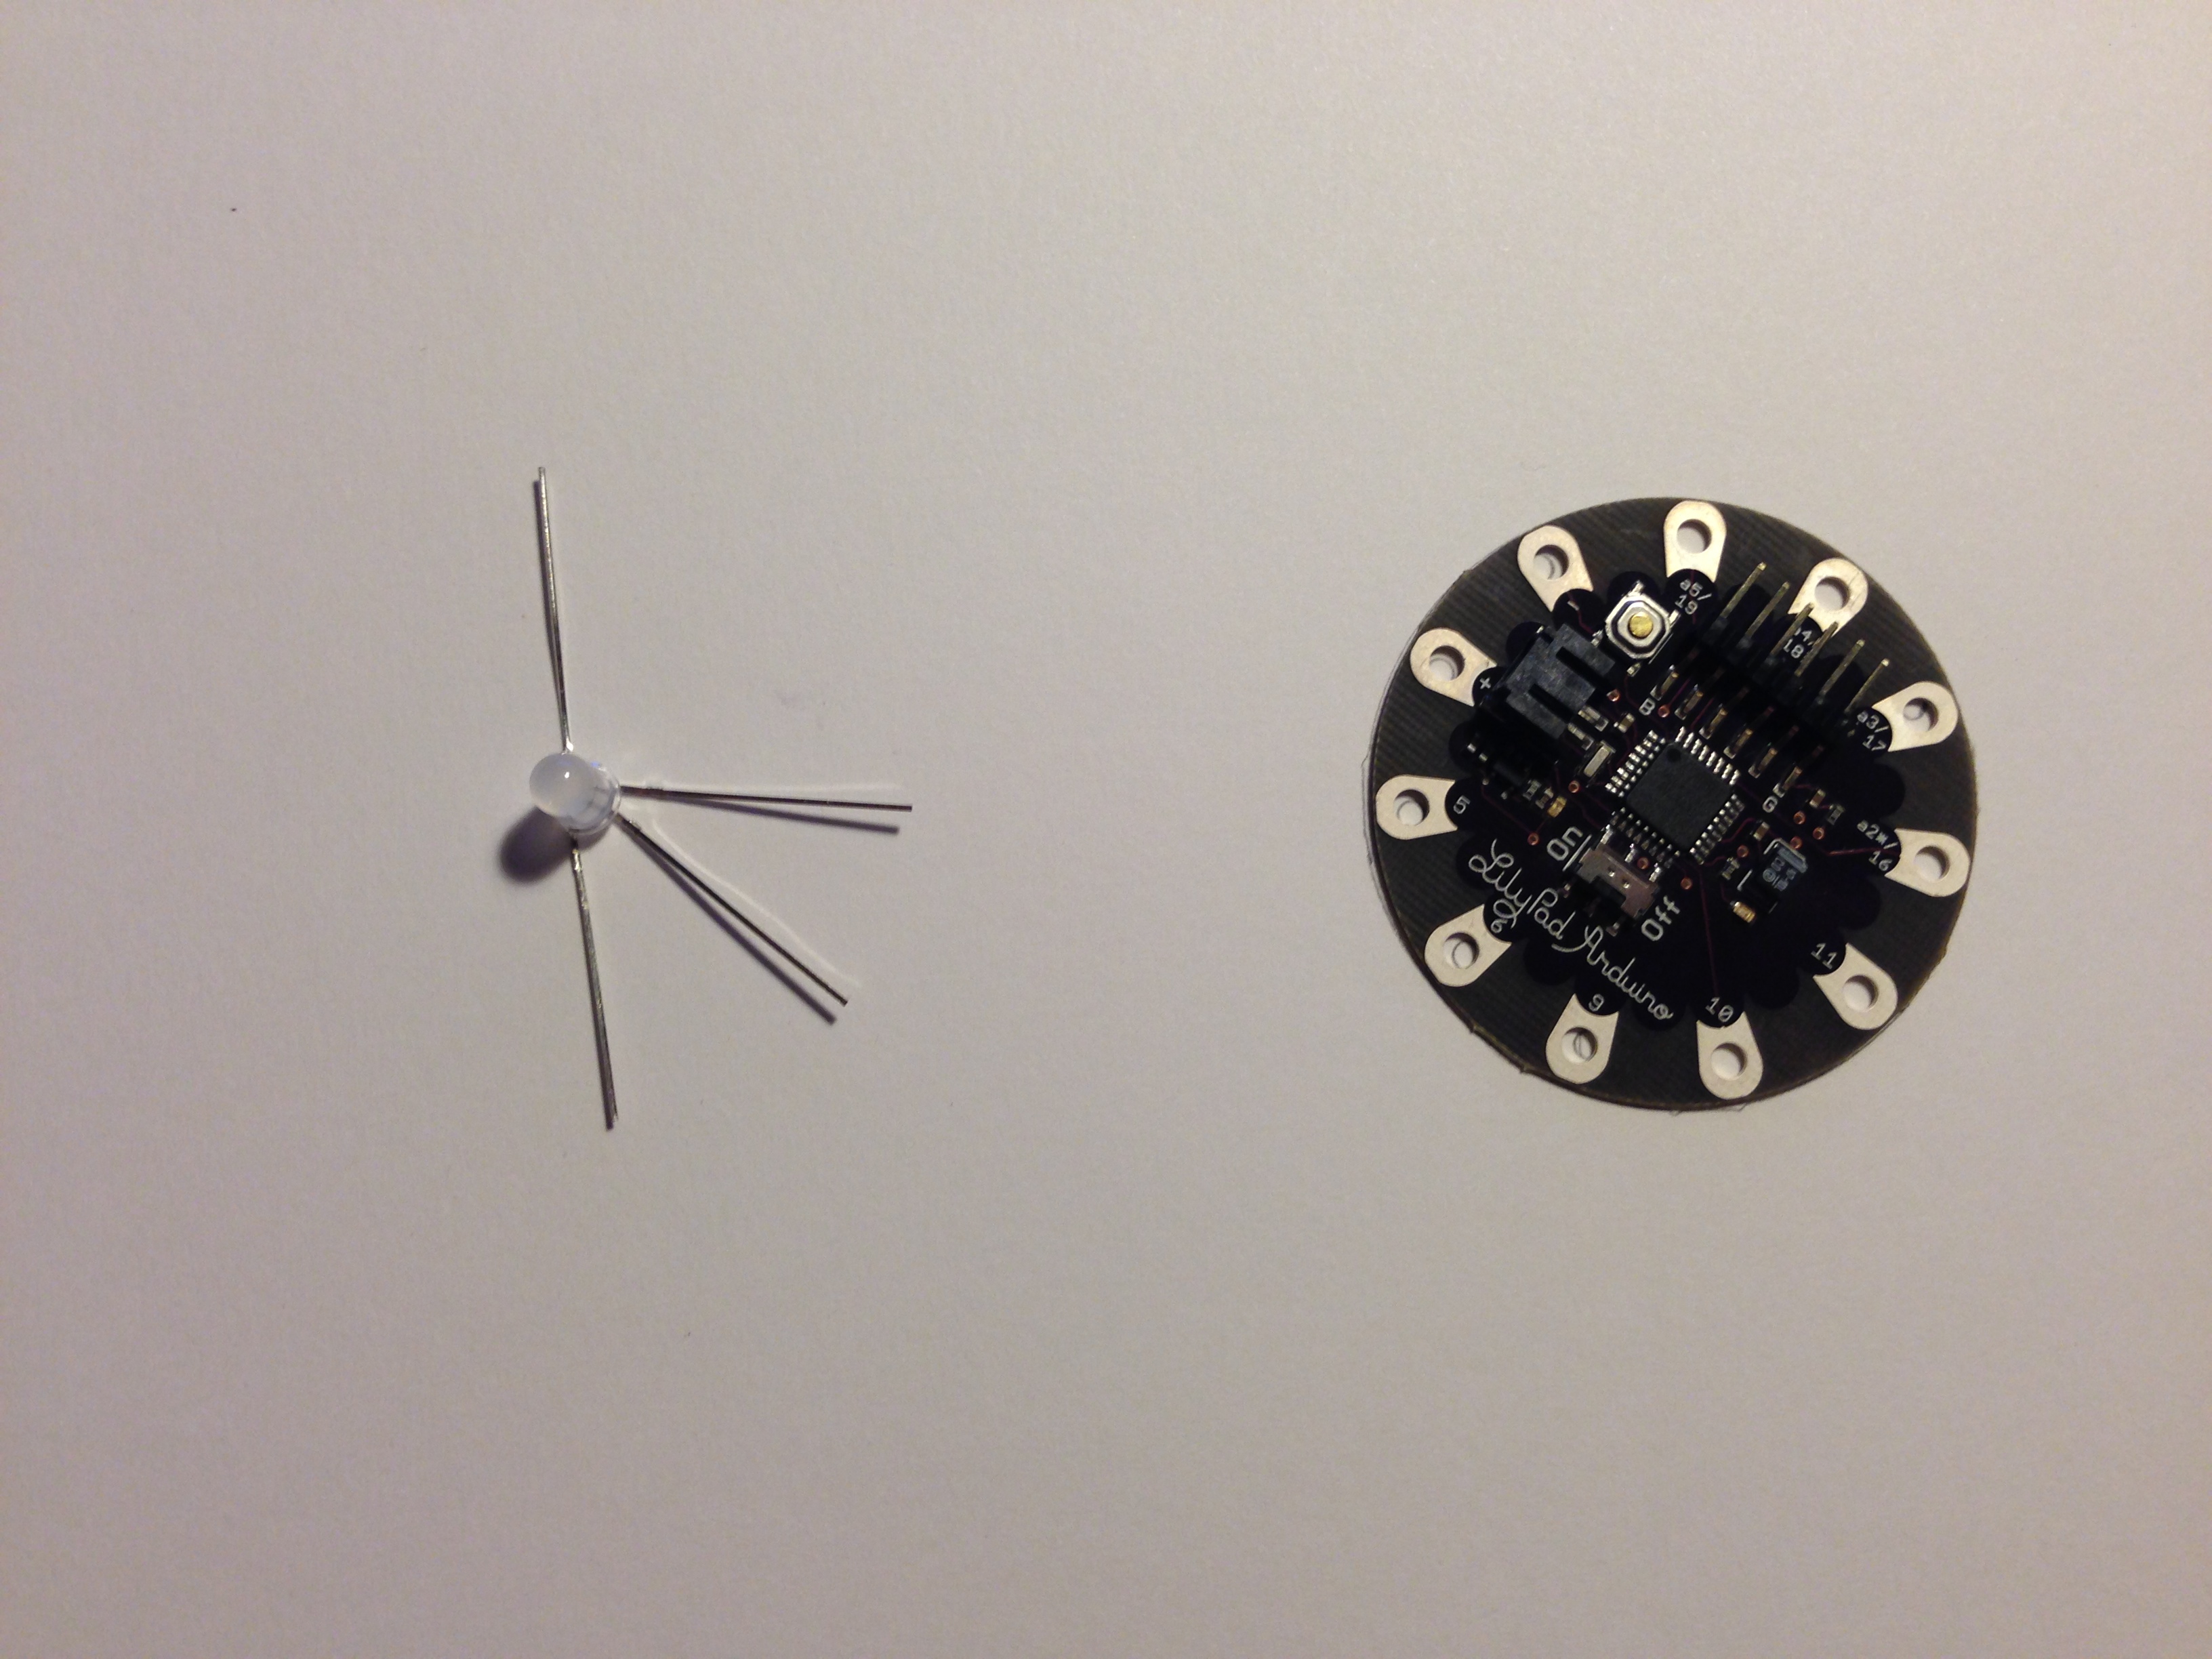
Lilypad Simple
RGB LED
Wool Roving
Solder
Soldering Iron
Folding Pressure Sensor
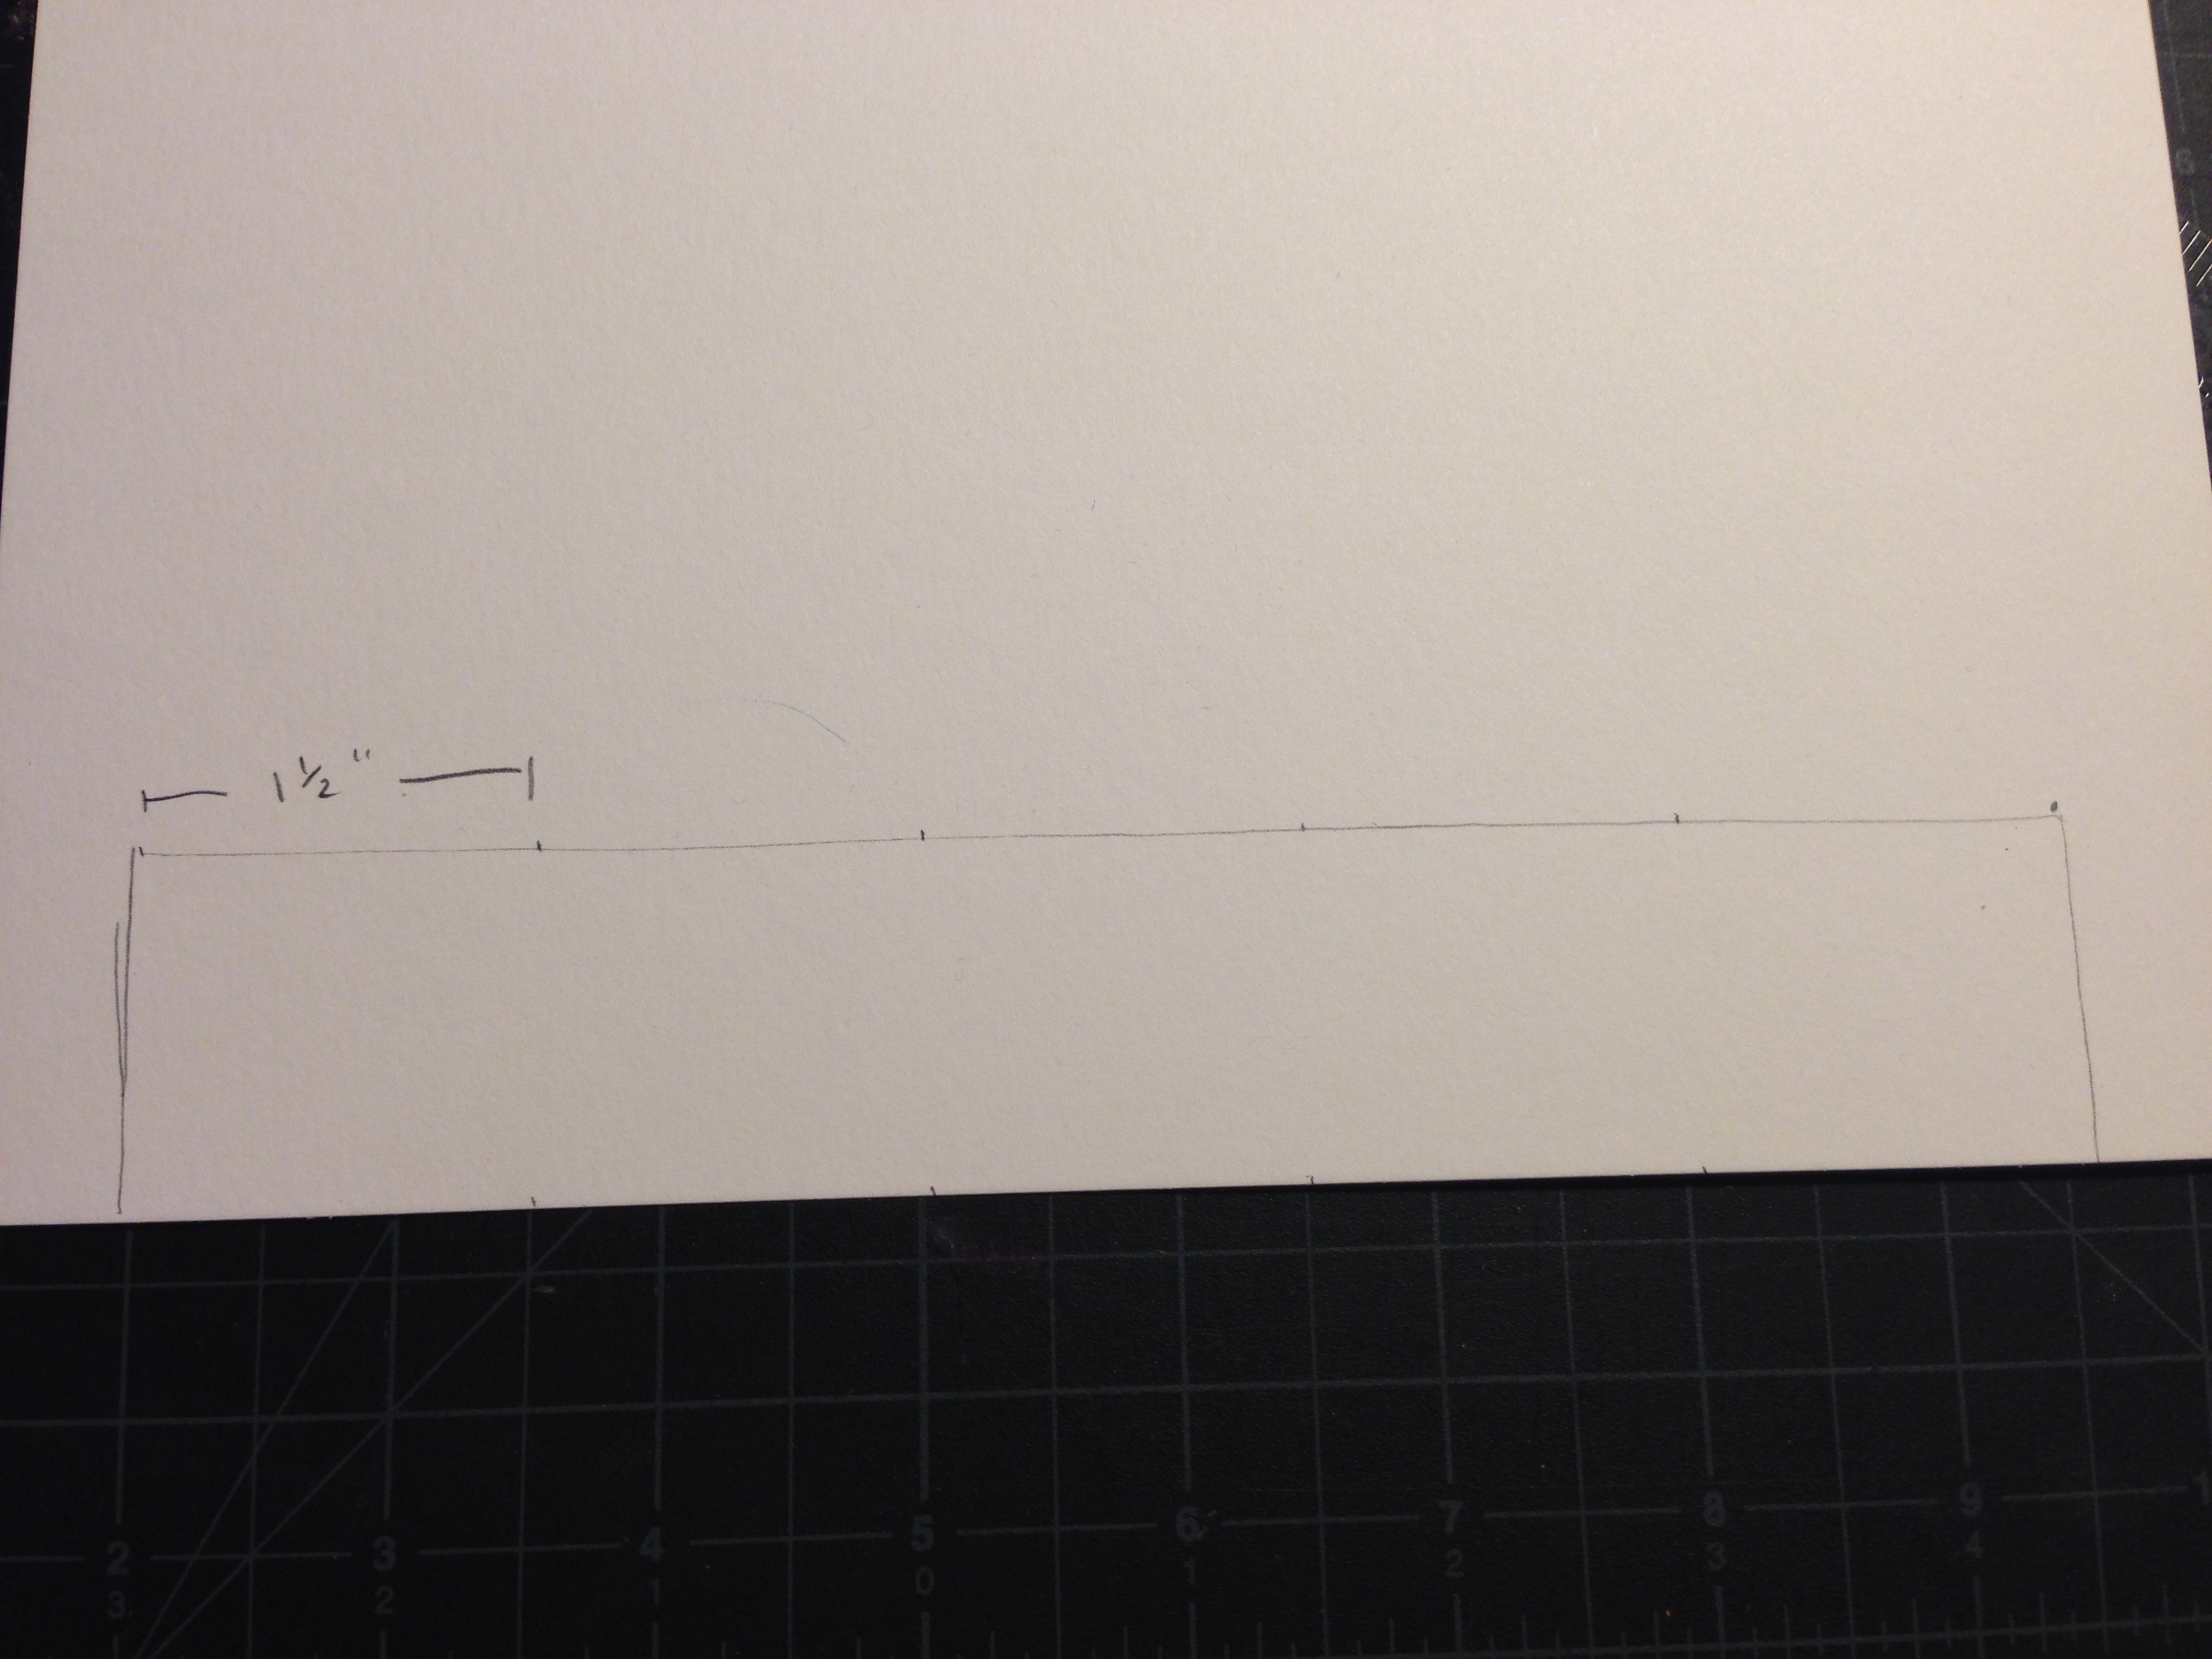
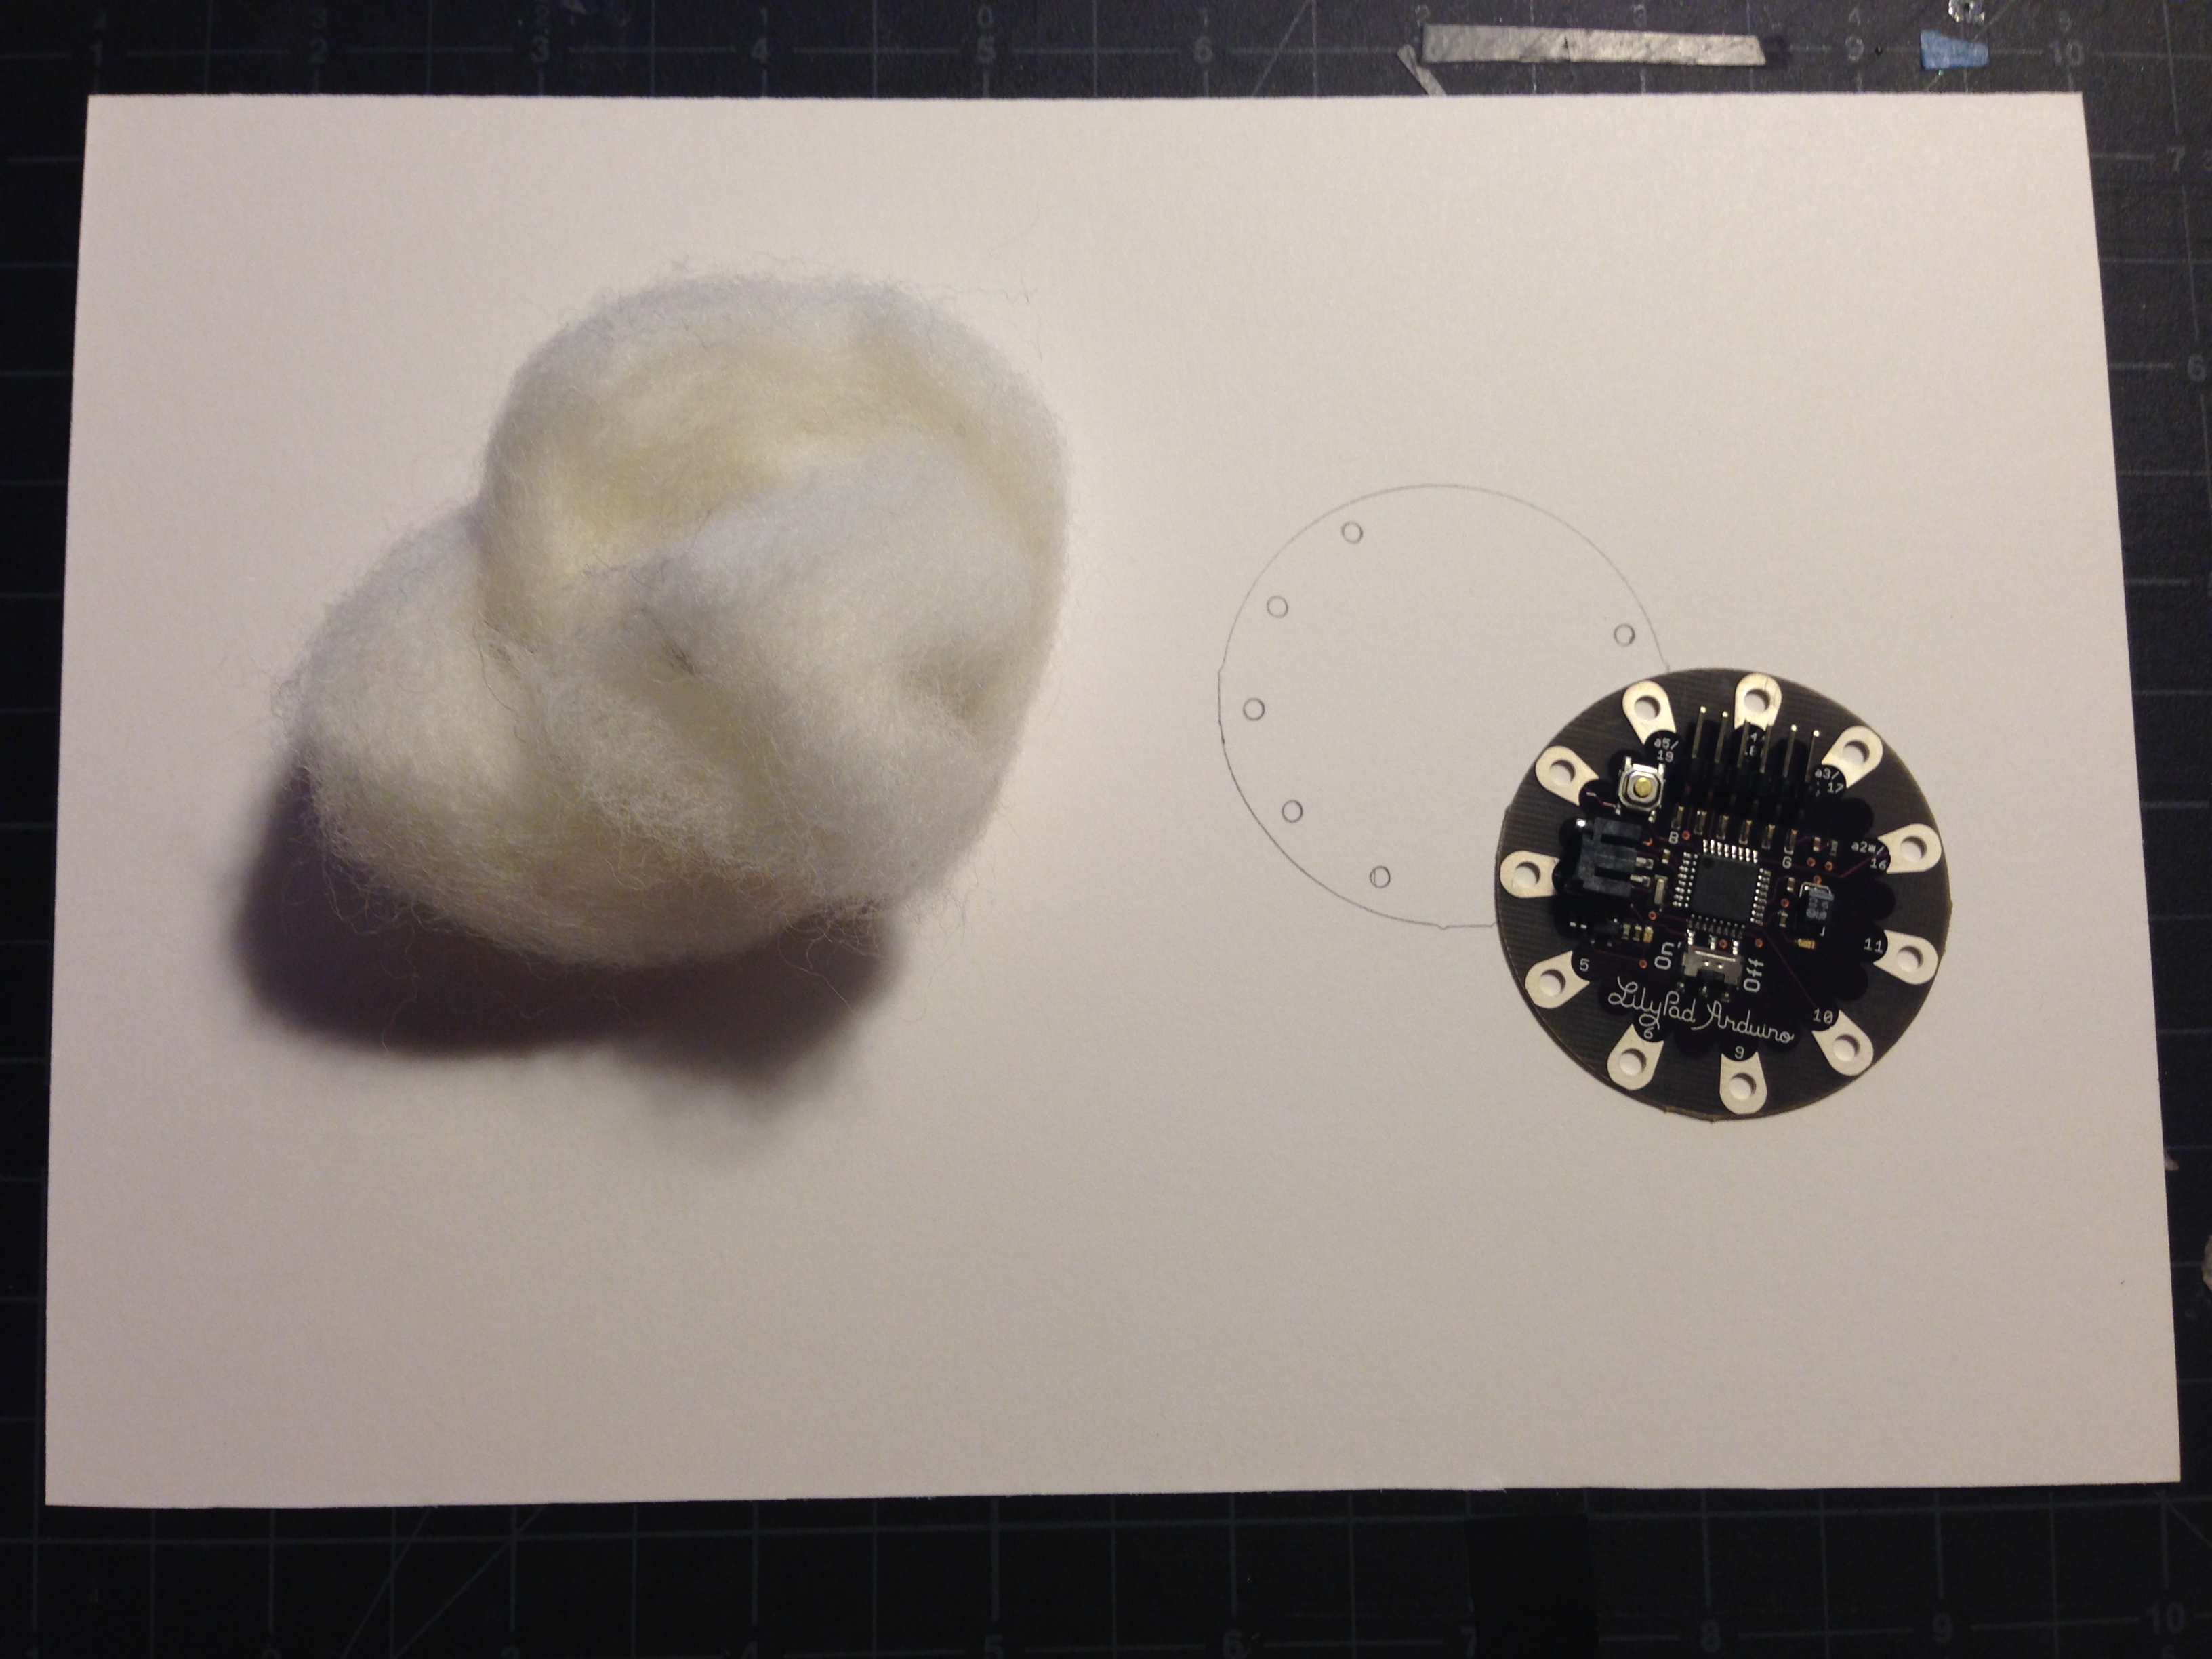
Step 1: Prep your paper.
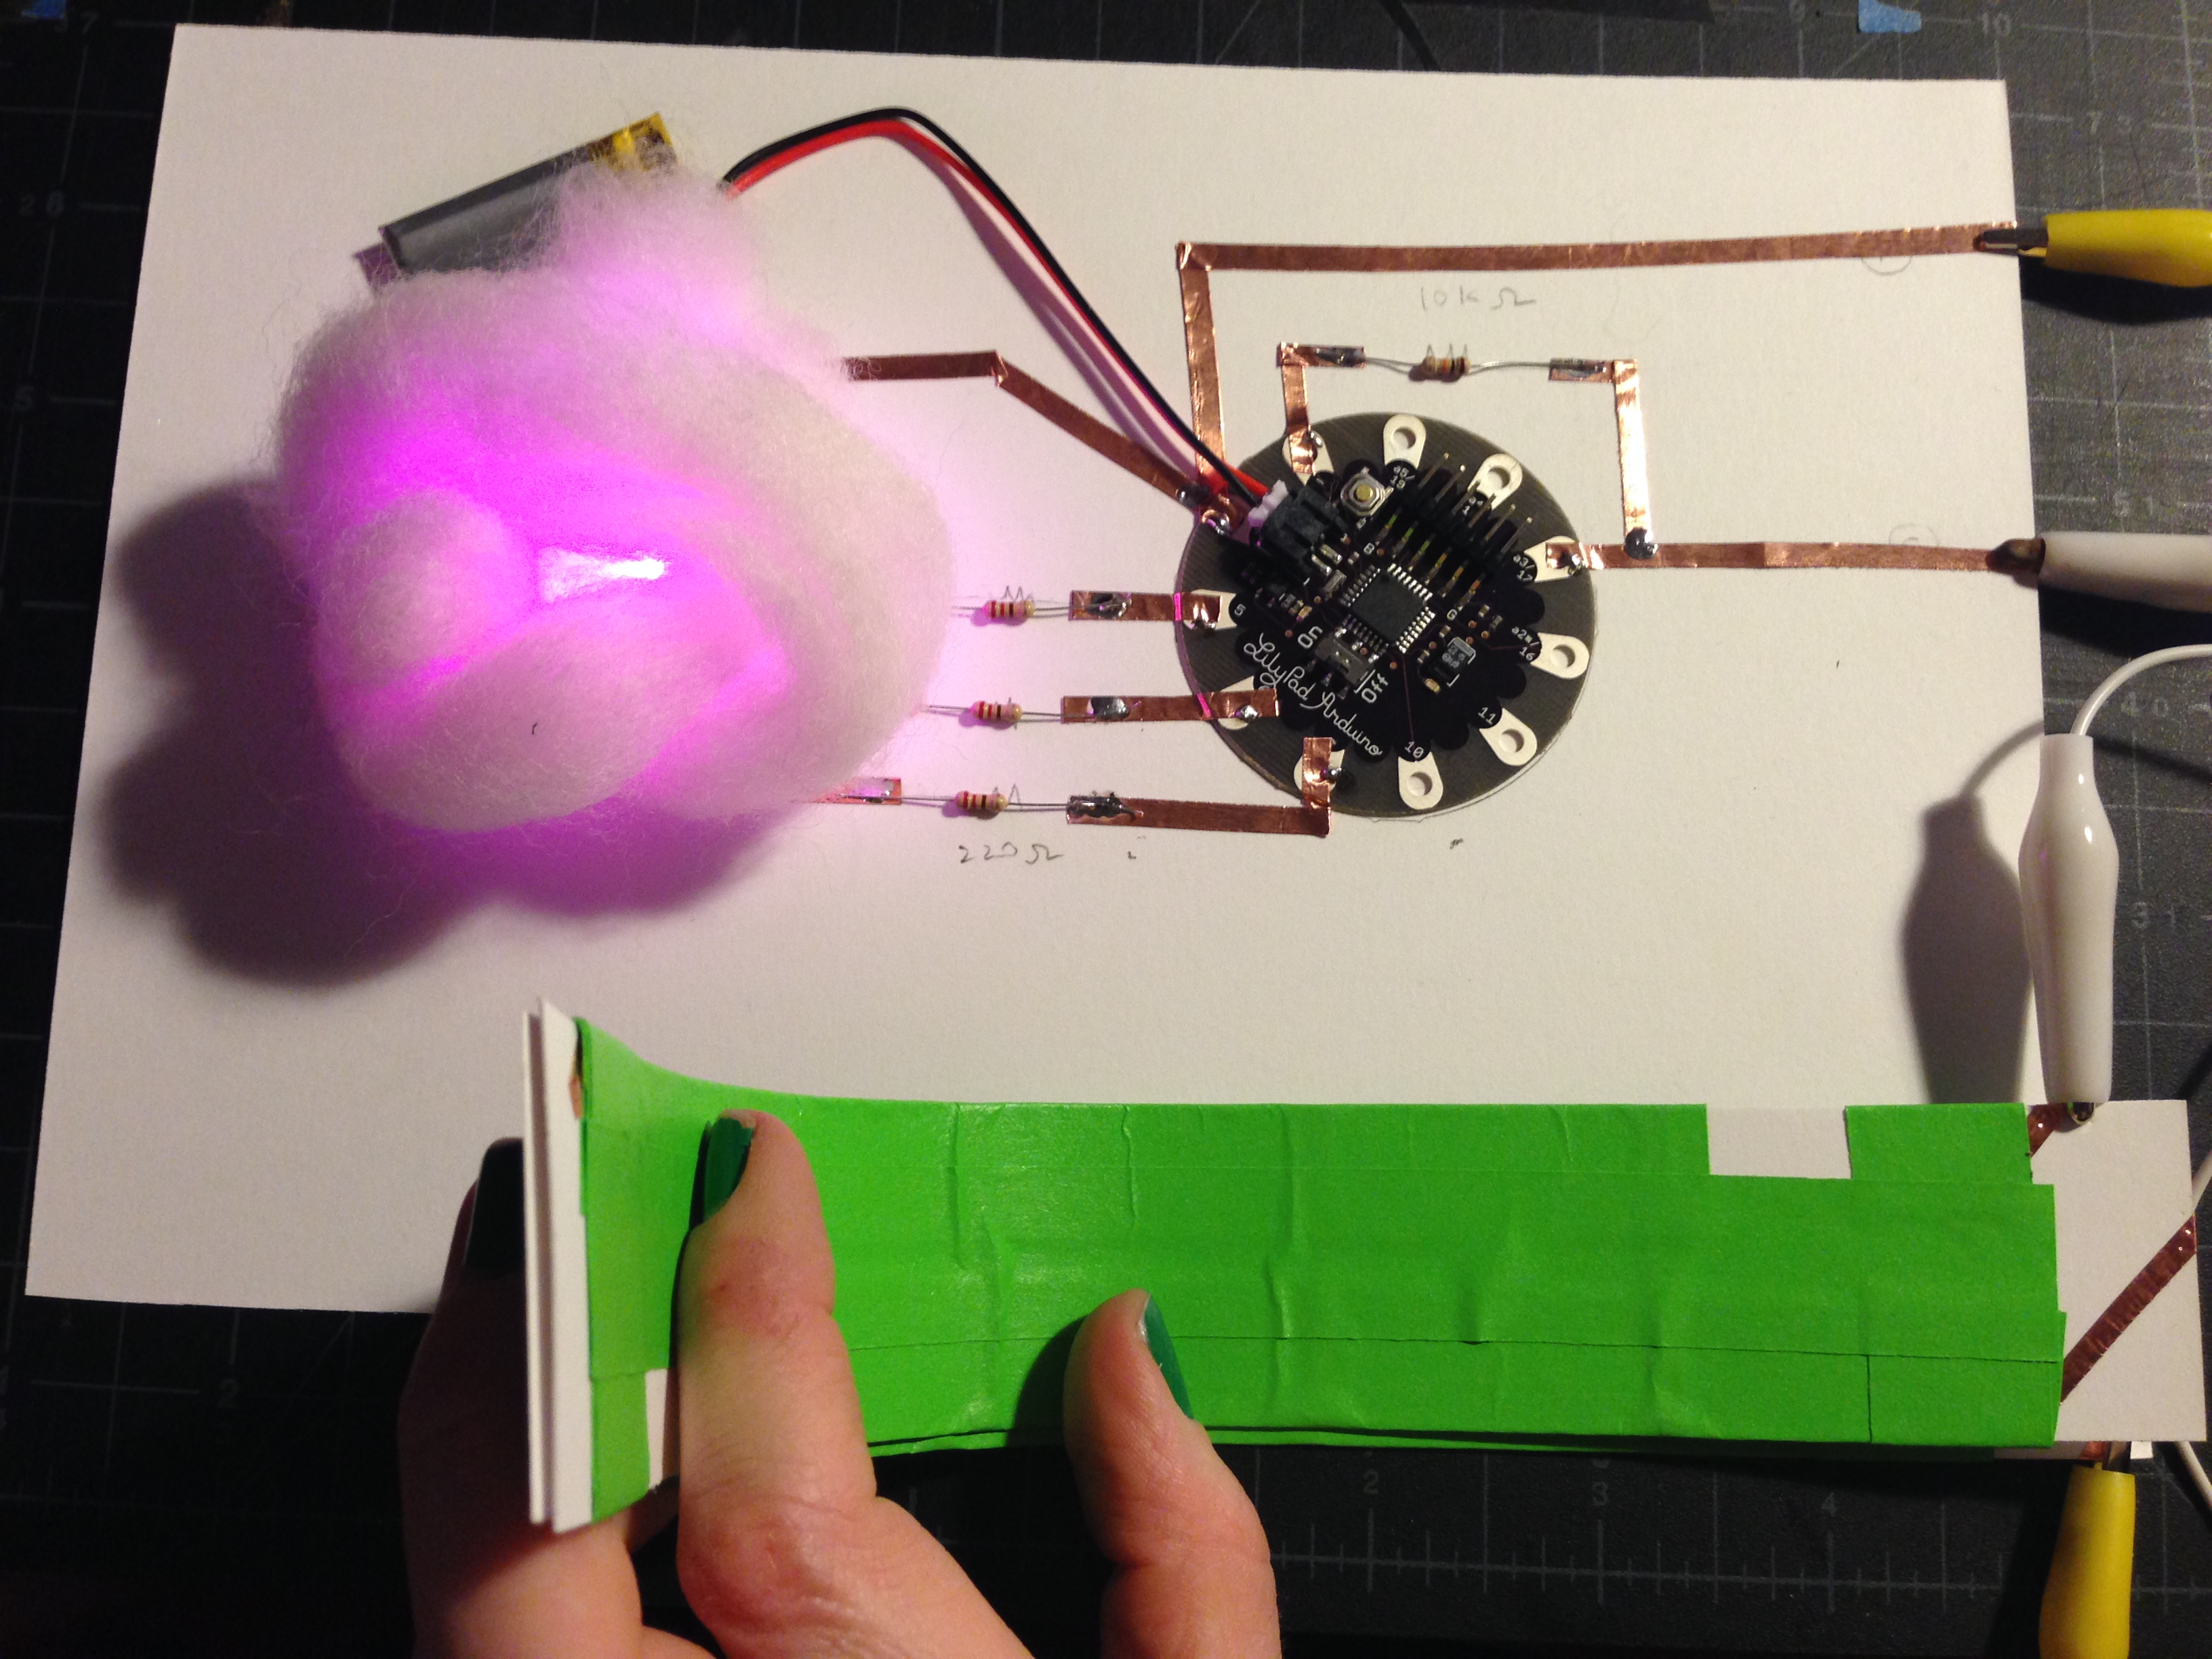
Cut a piece of paper about 3×6″ and fold it in half. After drawing our design, we’ll adhere copper tape on either side and velostat as the buffer in between. That way, when you fold the paper together like a card, the velostat will allow increasing amounts of current to flow from one side of the copper tape to the other.
So what is velostat?
Velostat is a carbon based material, which means it is slightly conductive. It has many microscopic layers of fibers that don’t usually touch so current cannot flow. When you press the velostat, the fibers touch and more current can flow to your components.
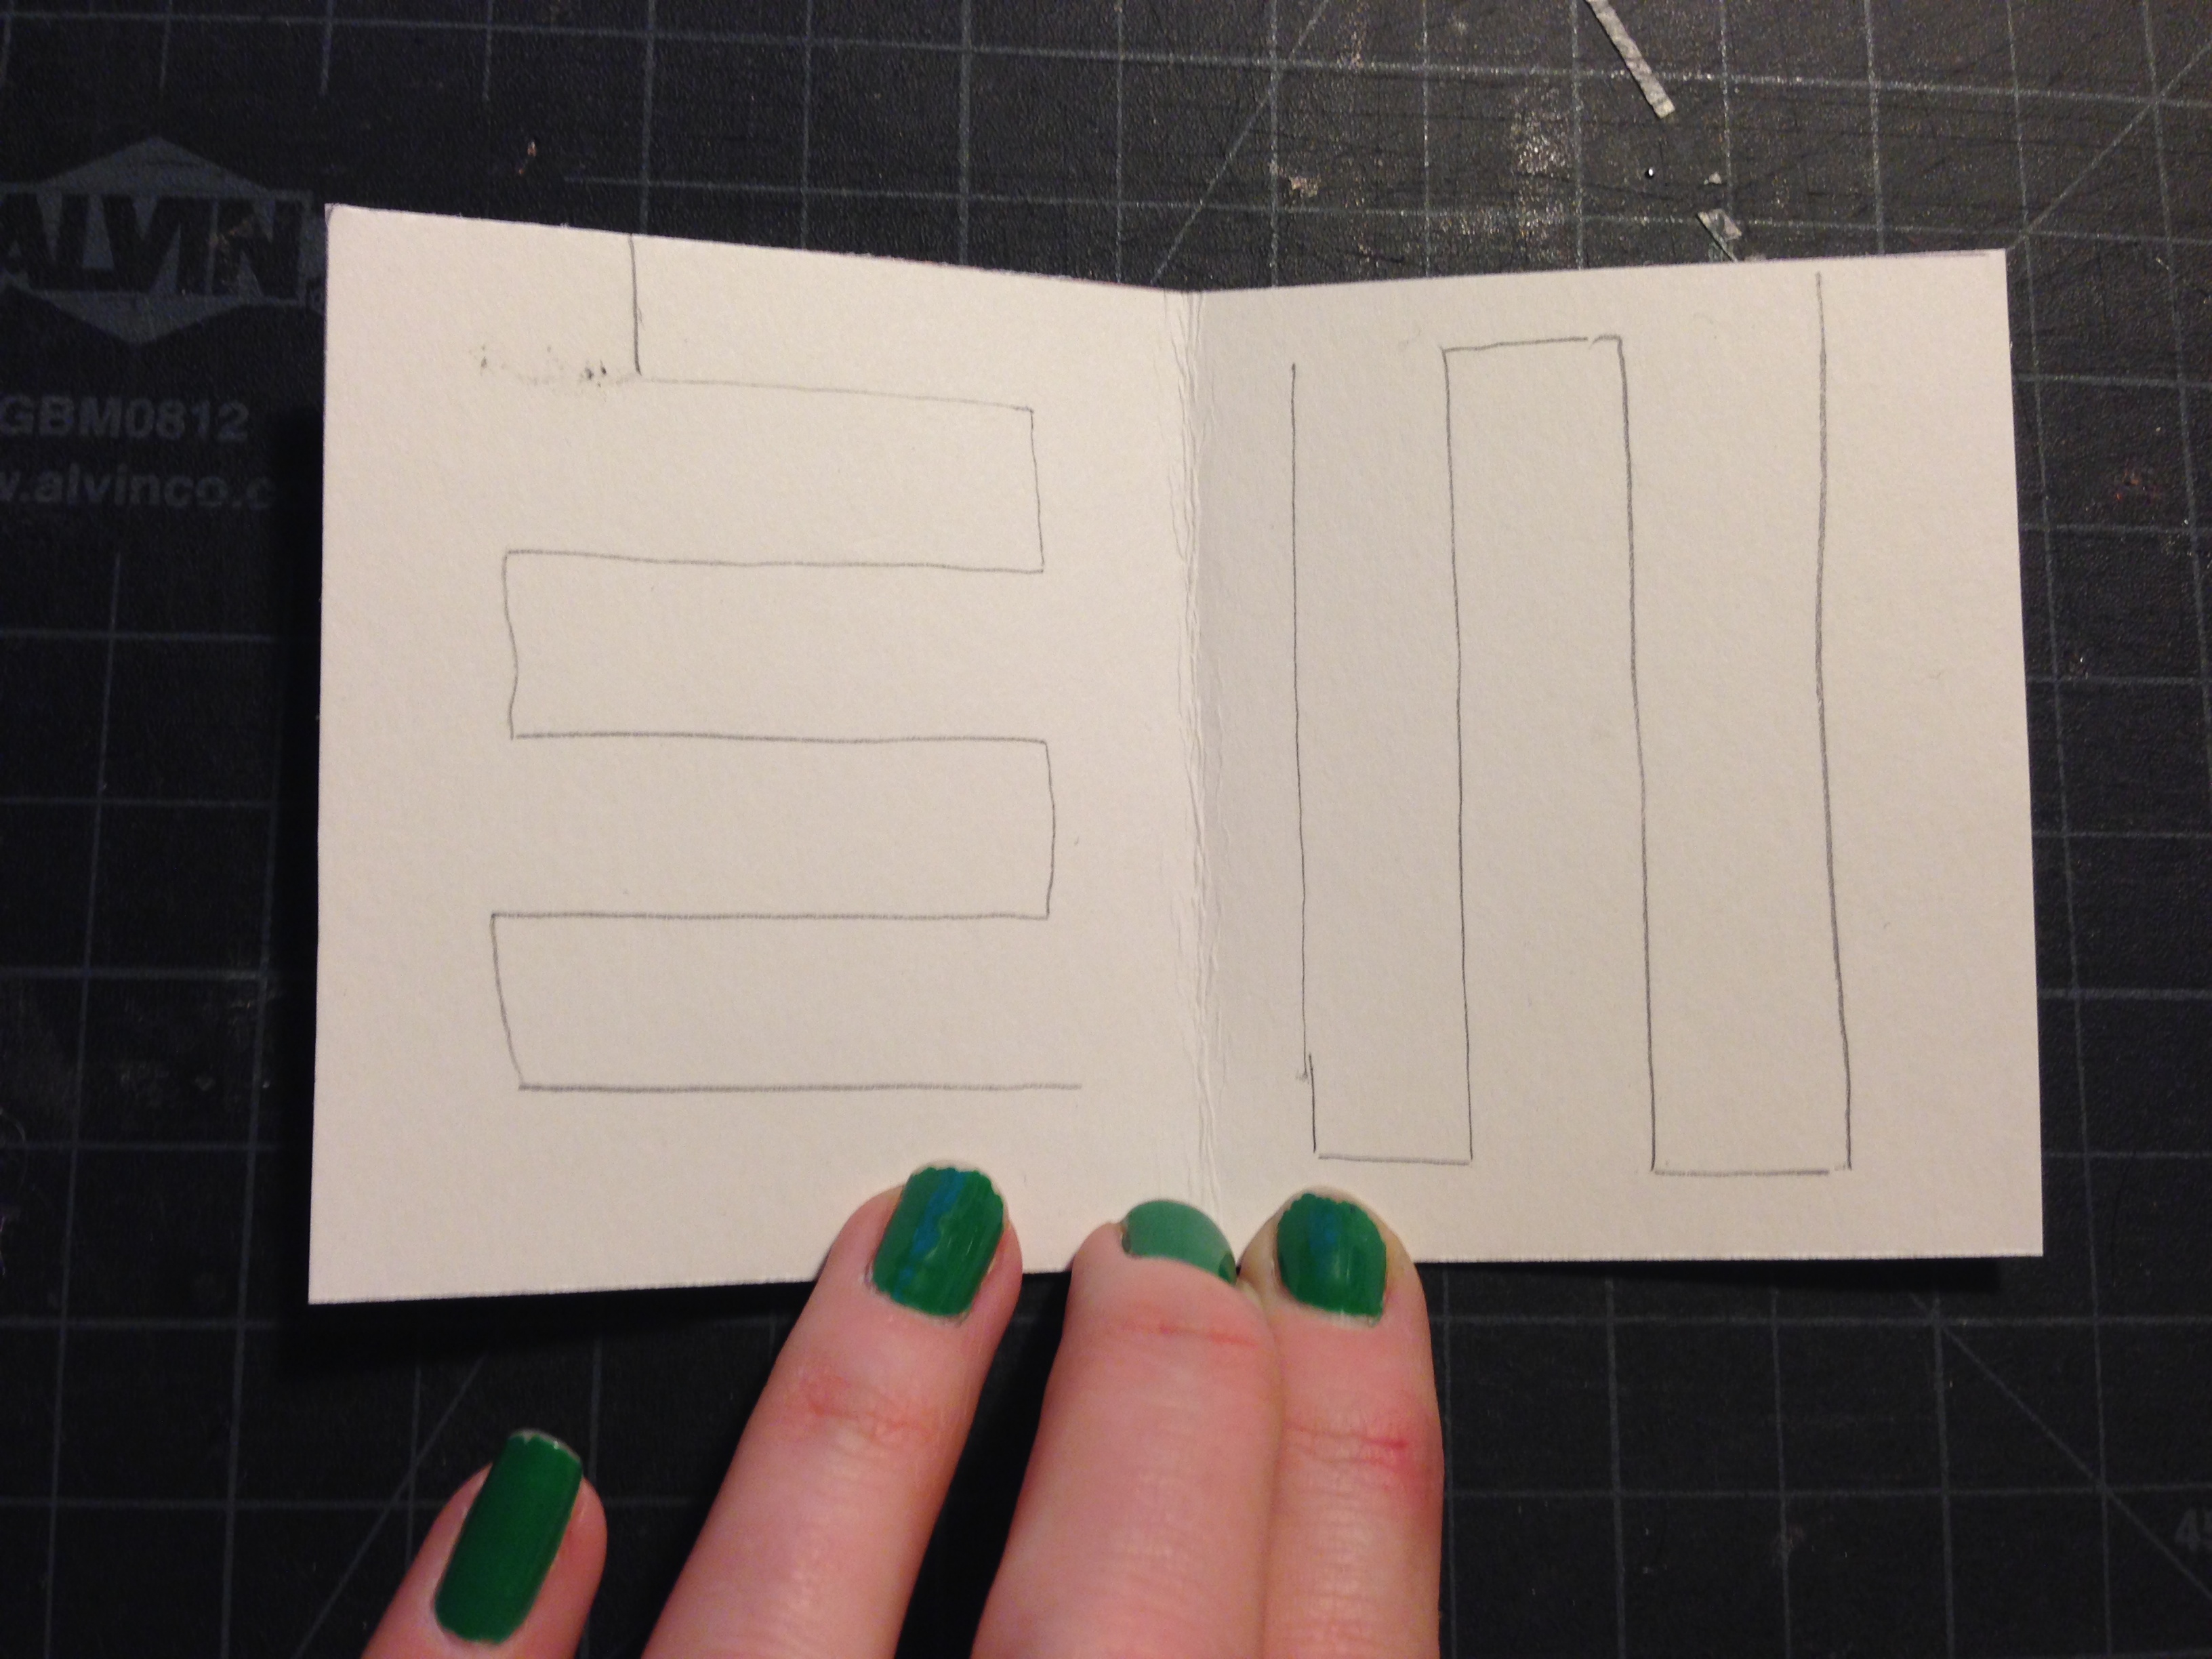
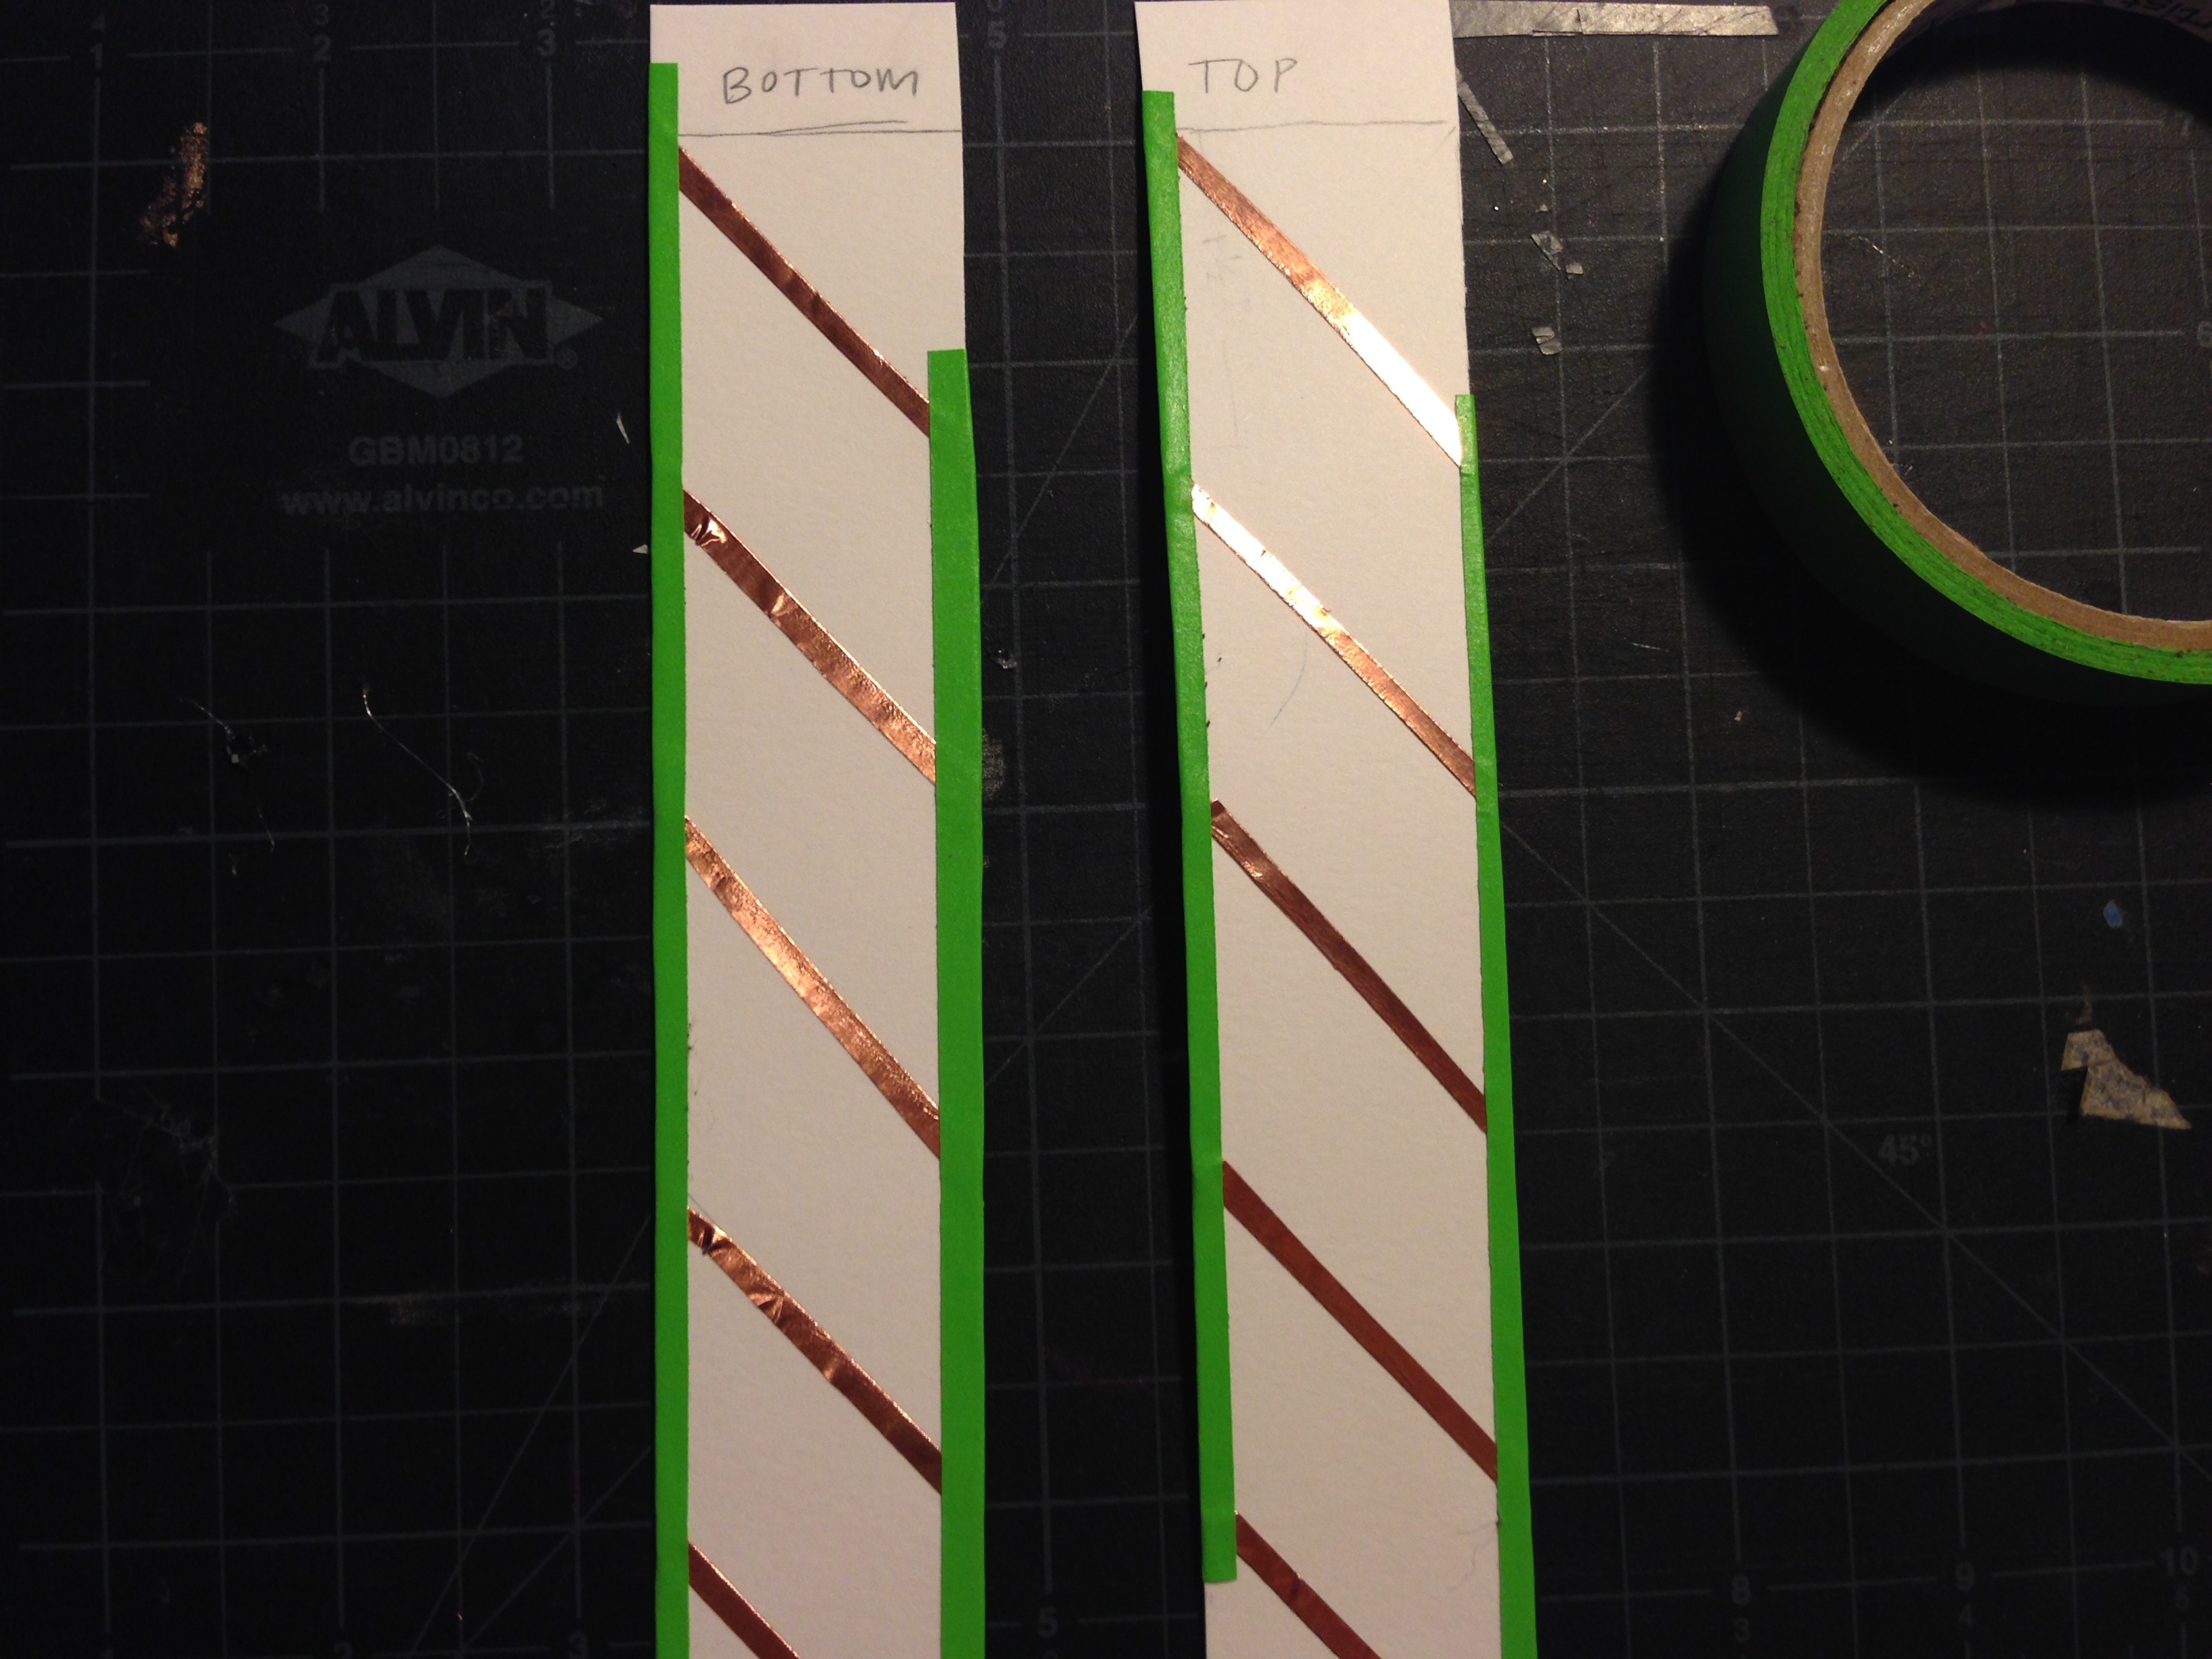
Step 2: Draw out your design.
Your design should have multiple contact points. You want to make sure that you leave enough room so the top and bottom lines do not touch when you fold the paper together.
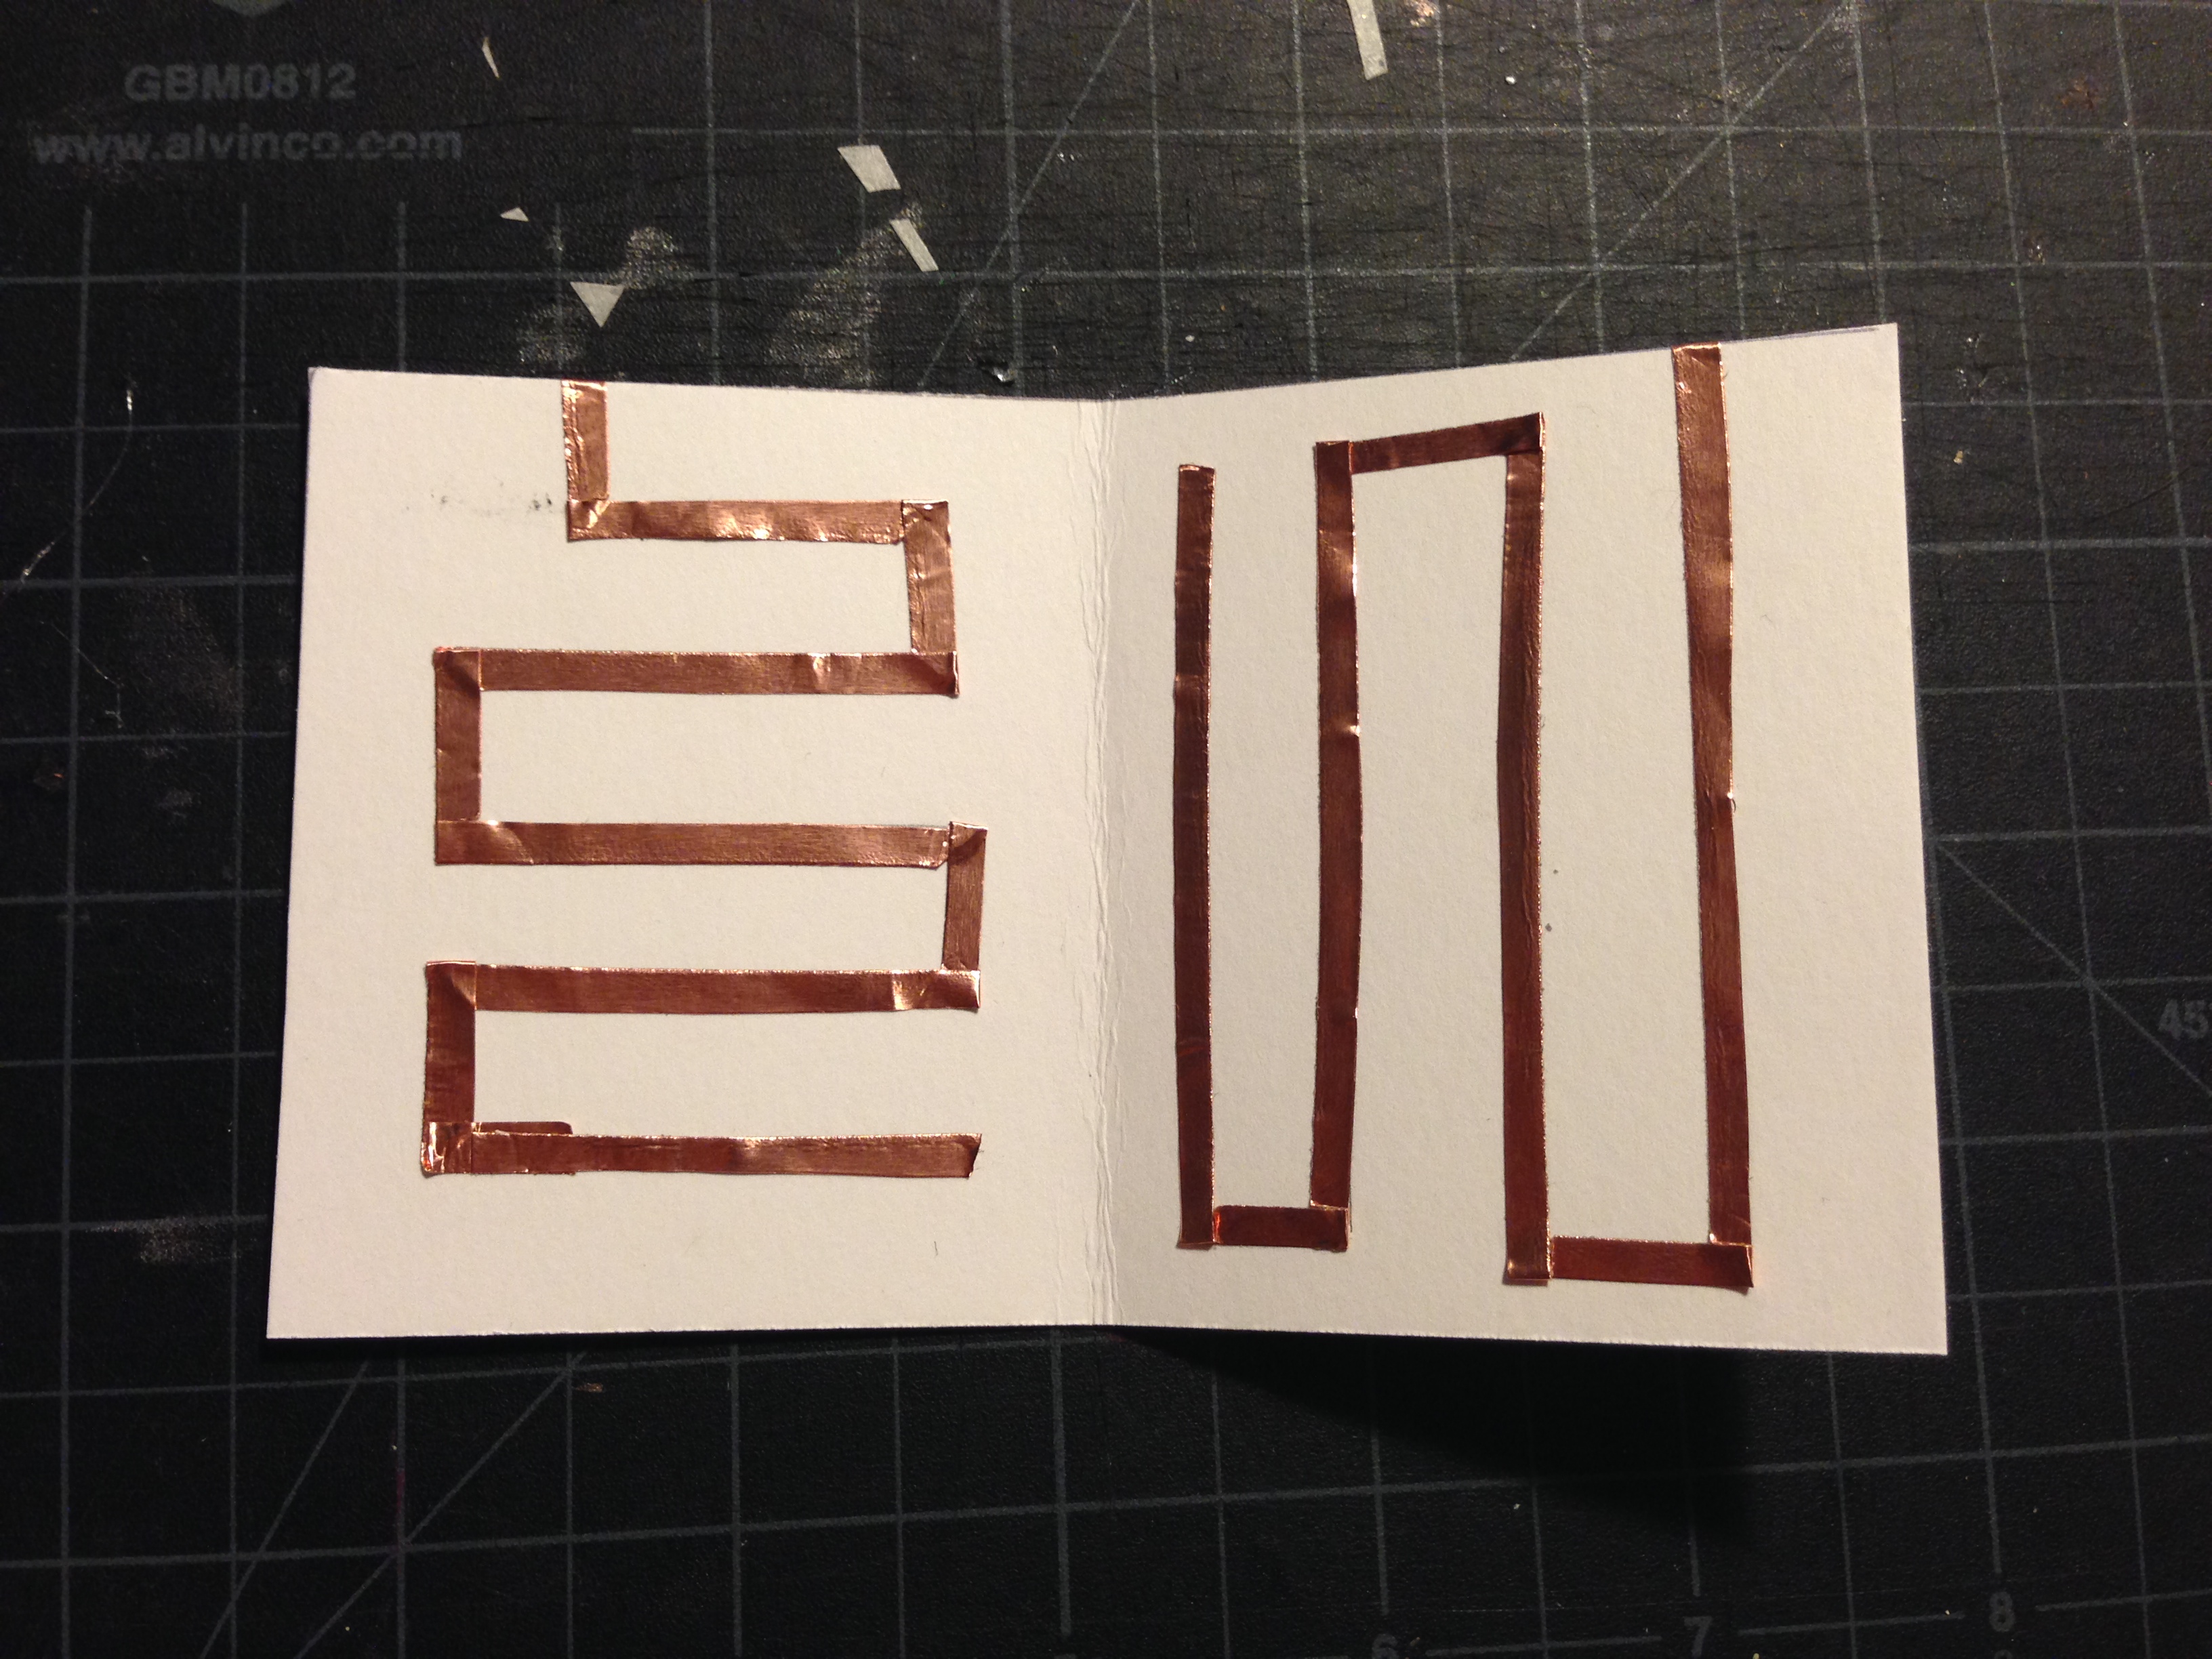
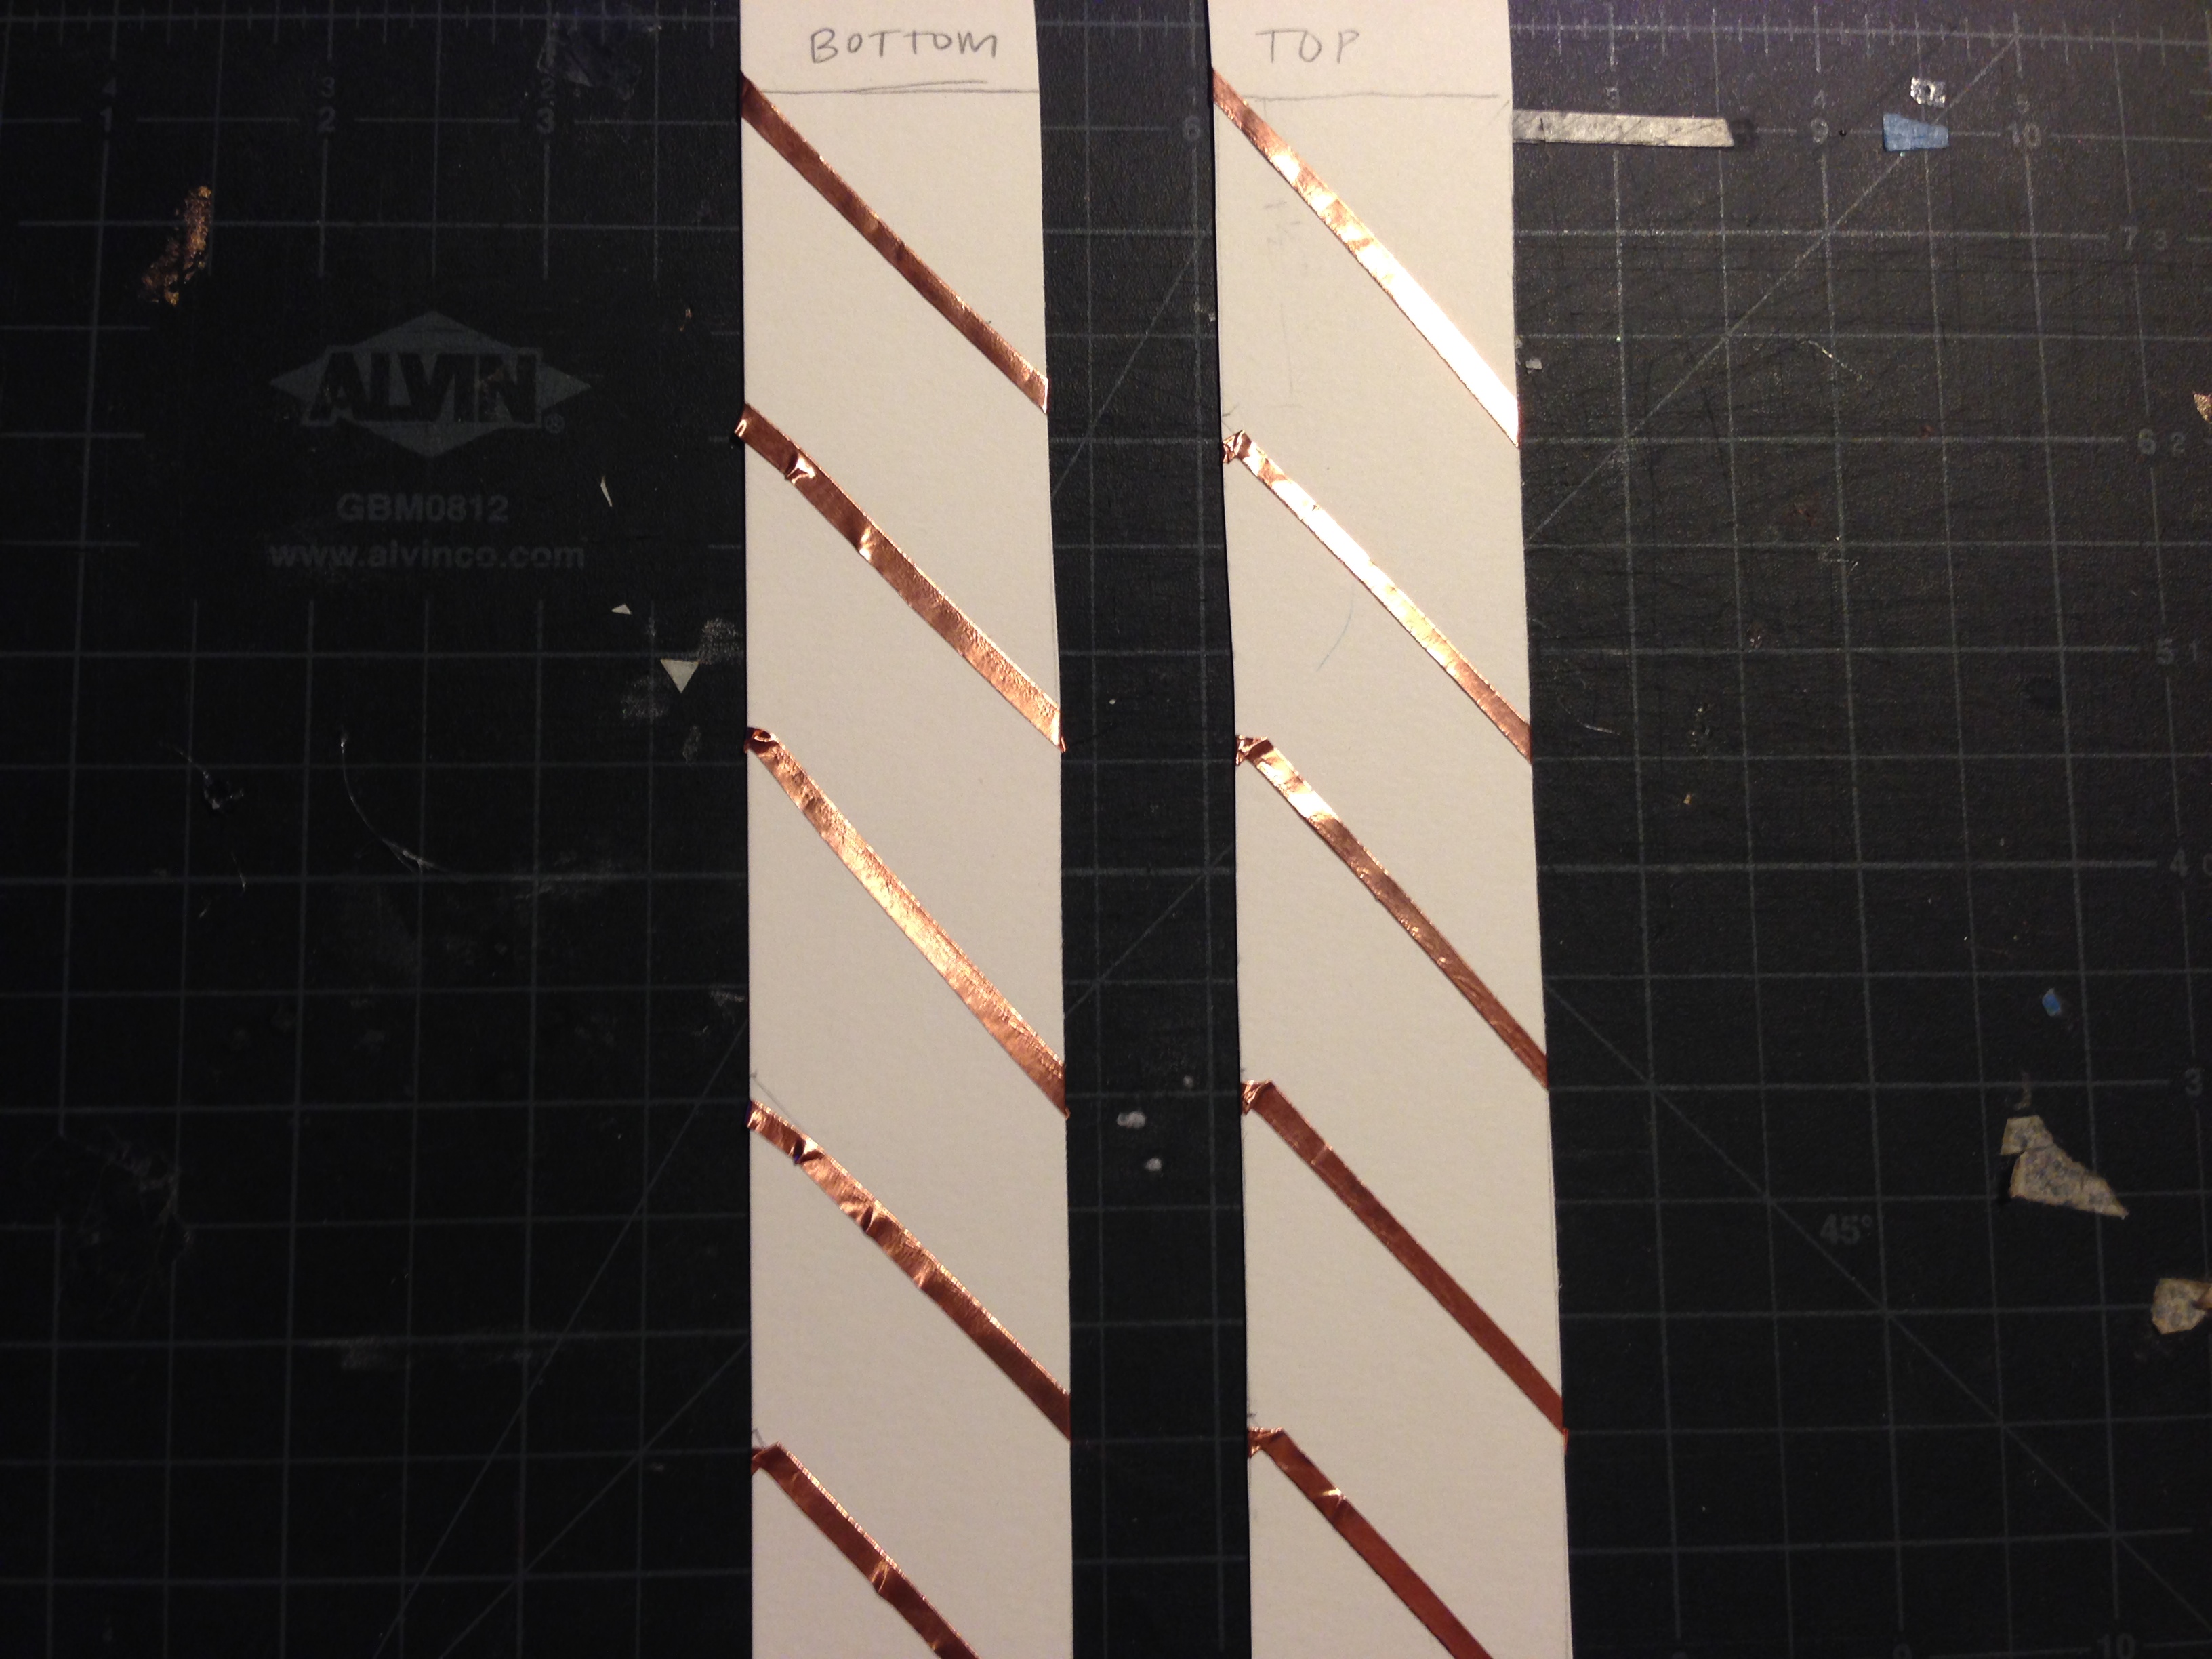
Step 3: Adhere the copper tape.
Ideally you want one continuous strip – for example, on the above design, you do not want to cut many little strips and place them on top of one another. While the adhesive on the back of this tape is conductive (beware: this is not true of all copper tape so be sure to check!), it looses the connection easily. If you do this, be sure to solder the joints.
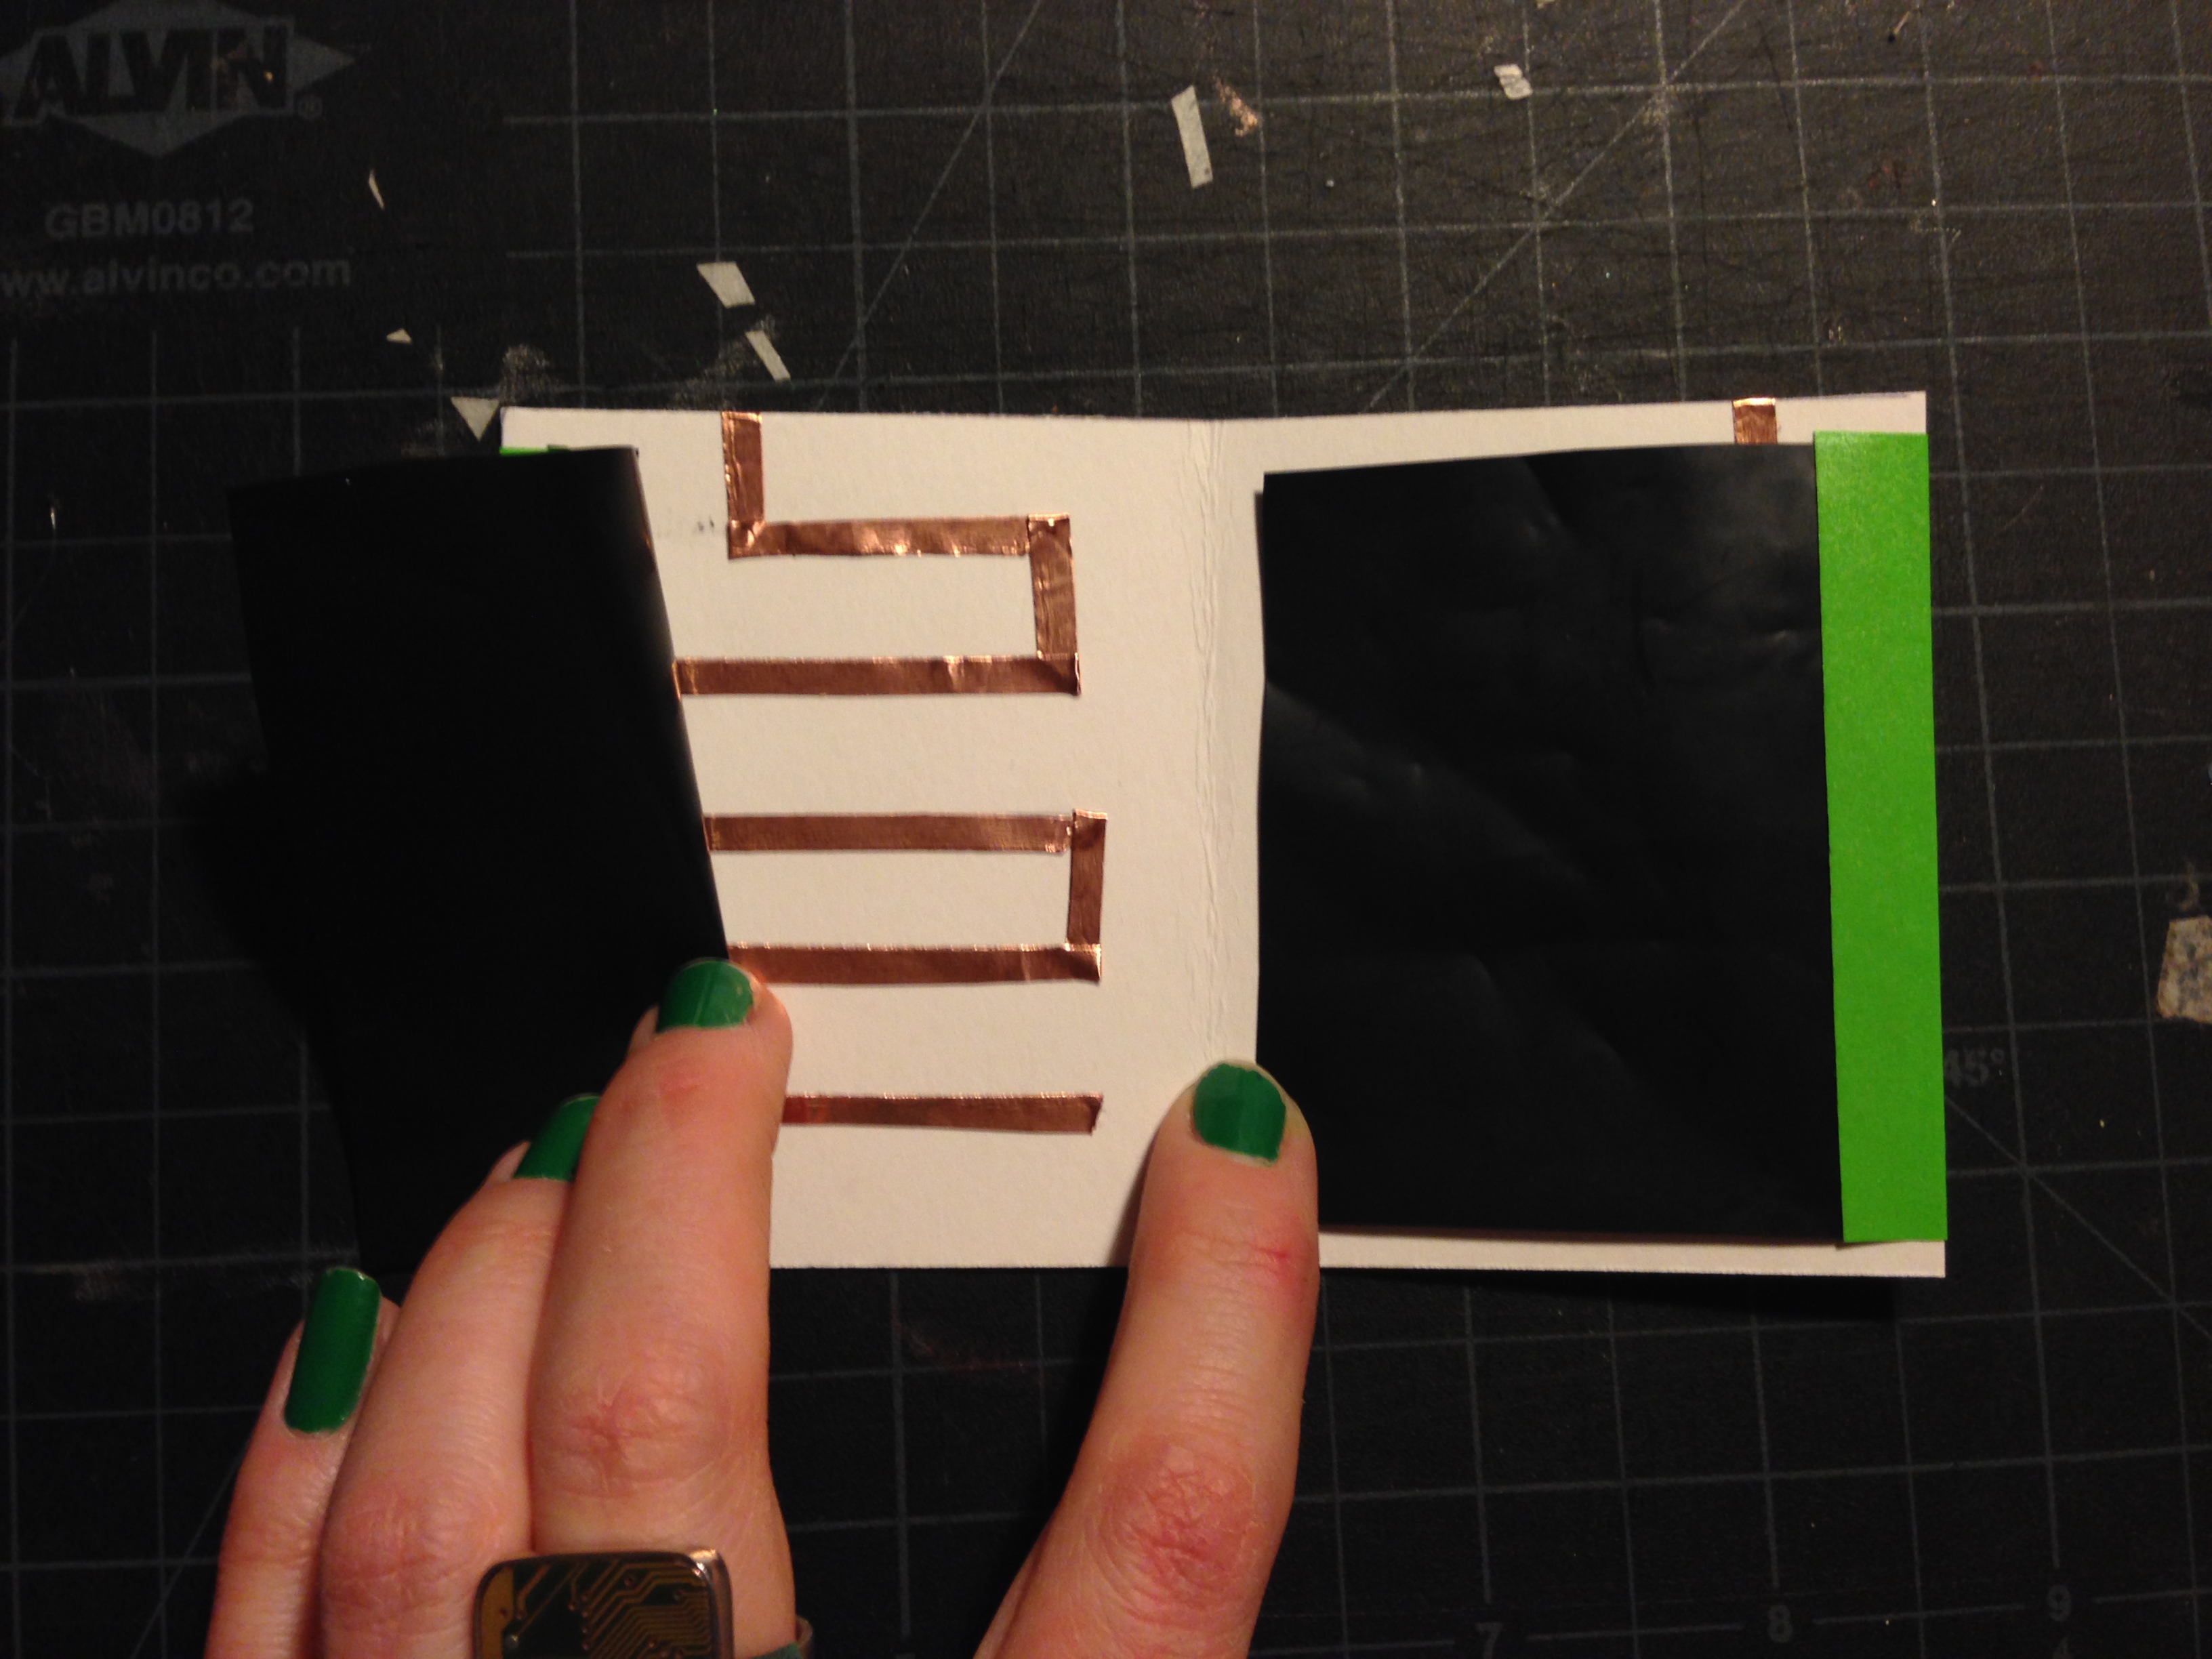
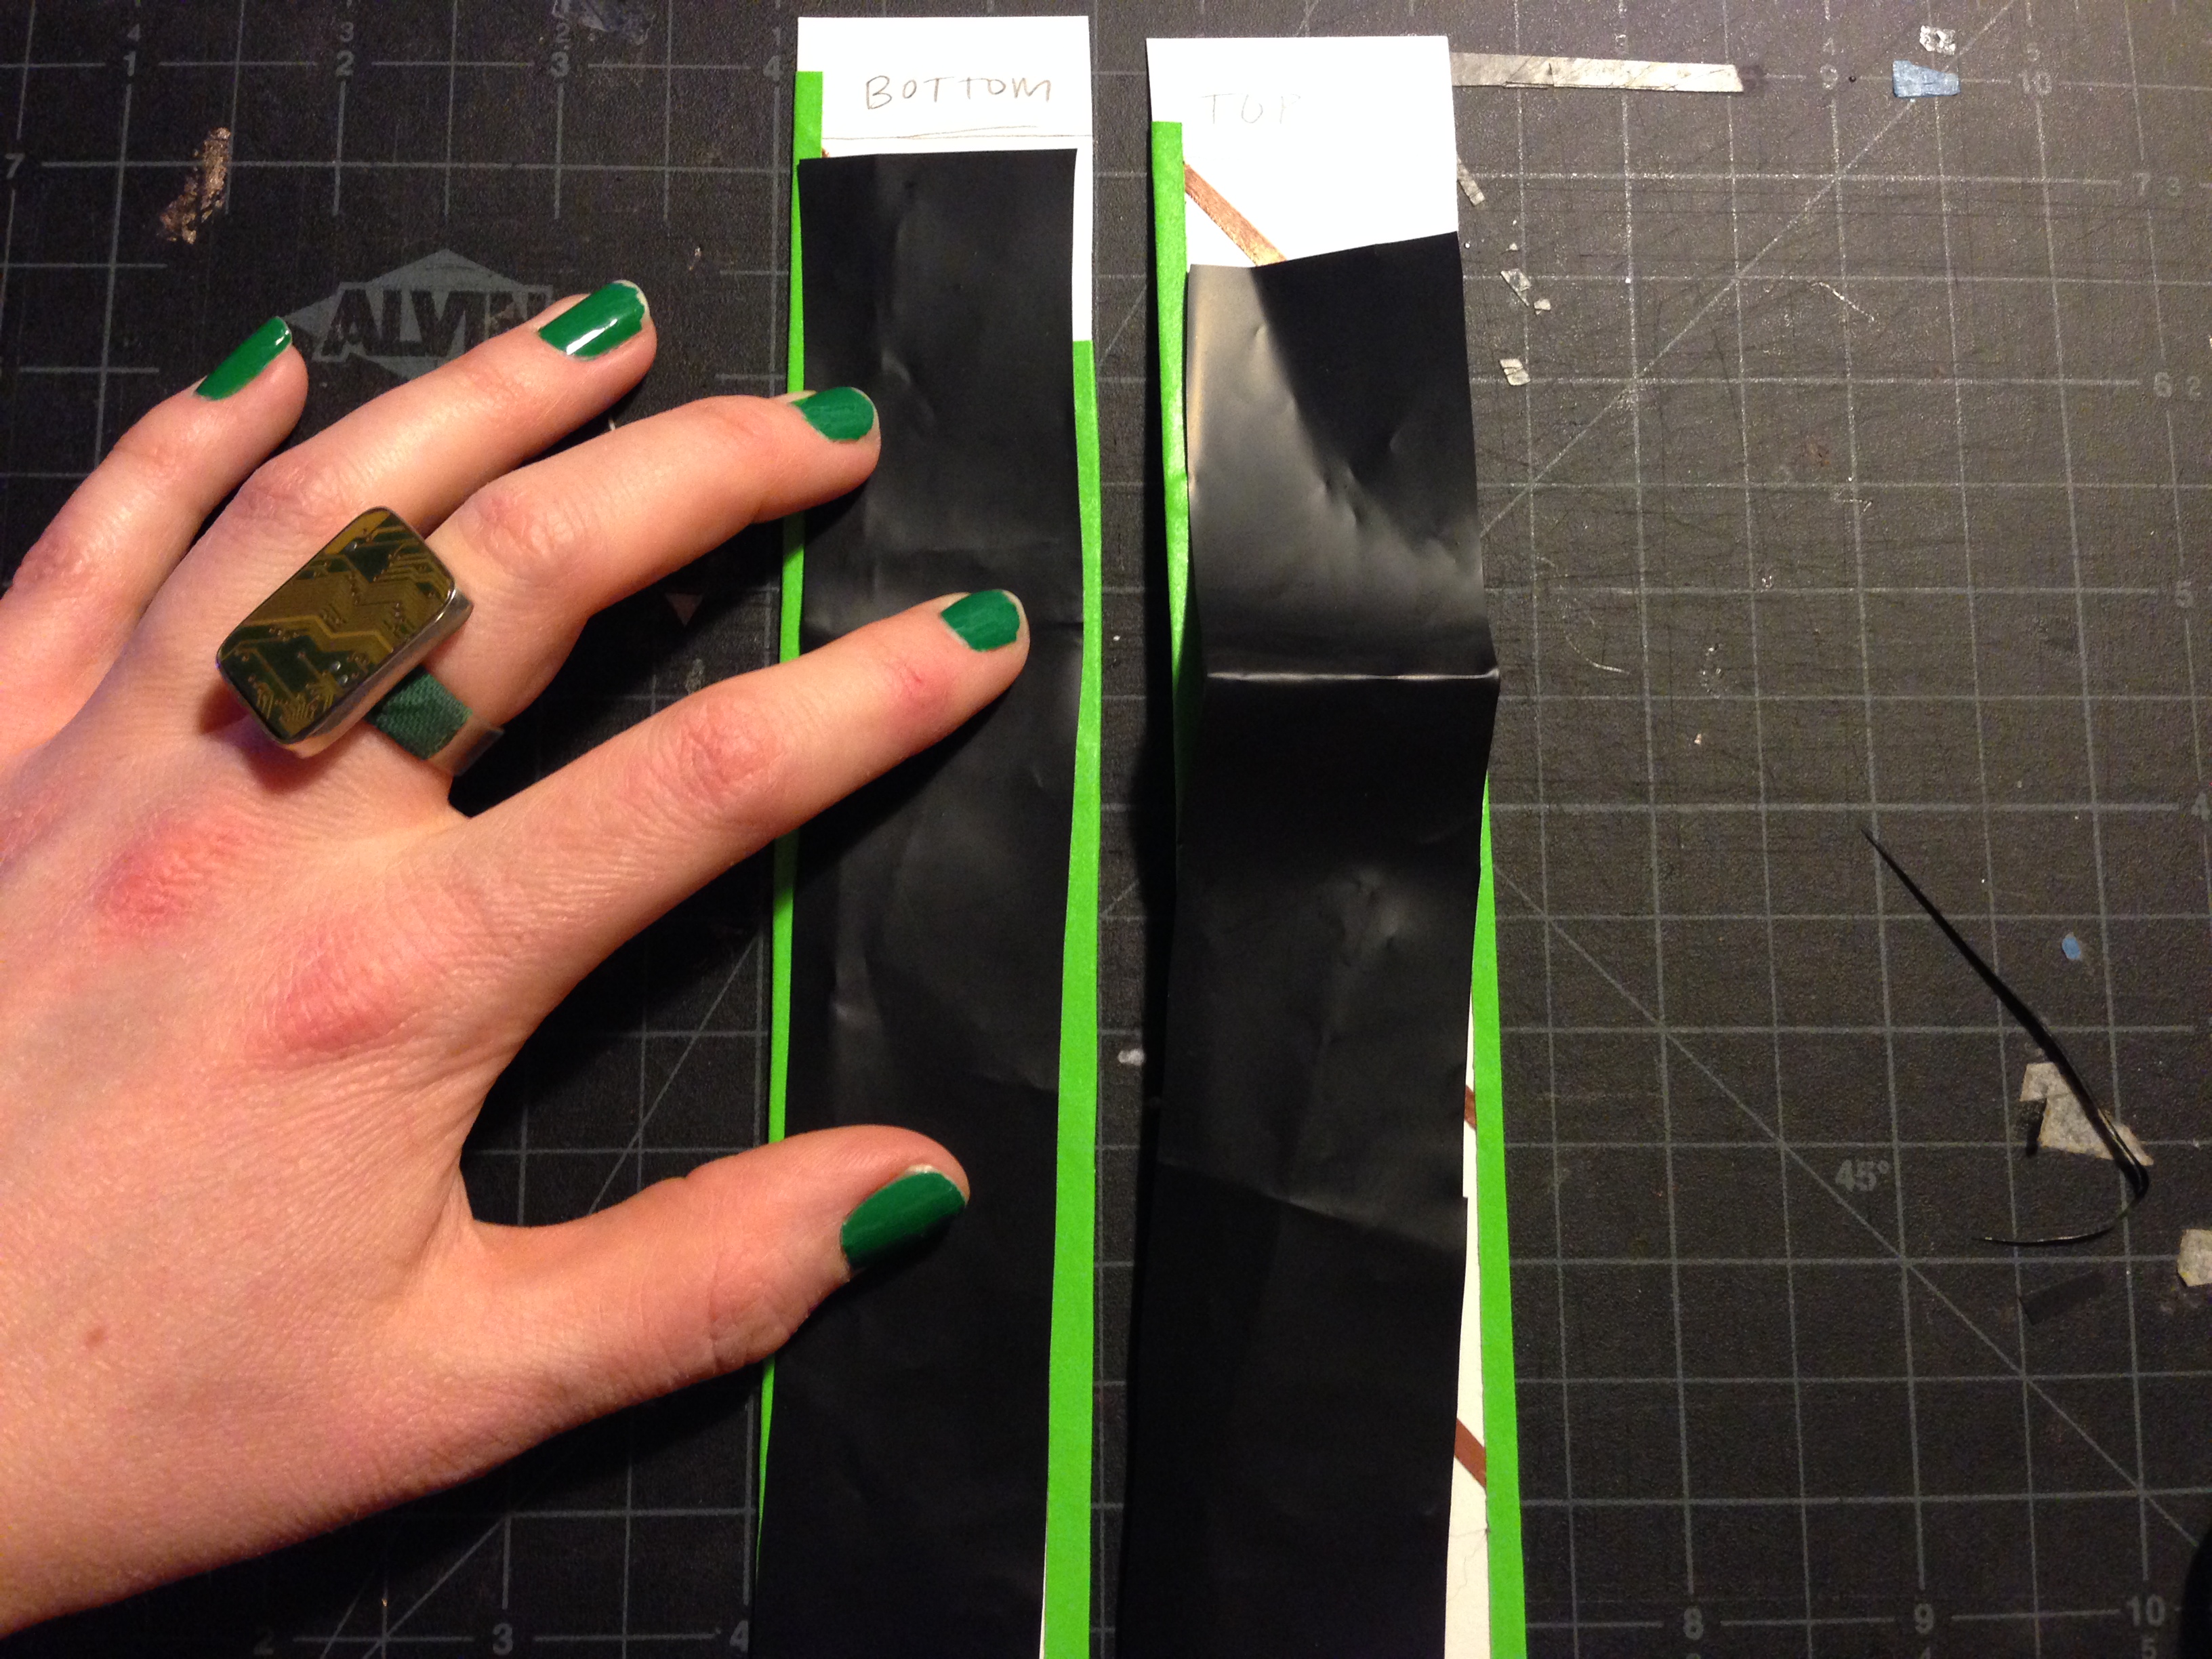
Step 4: Tape down the velostat.
Cut two pieces of velostat to go on either side of the paper over the tape. They should be large enough that to cover the copper tape. We don’t want any exposed copper tape, except for a little piece on either side. If we have more, they might touch and destroy our fun fading effect.
Once you have the right size, tape down the outside first on each piece, then attach one piece of tape down the middle.
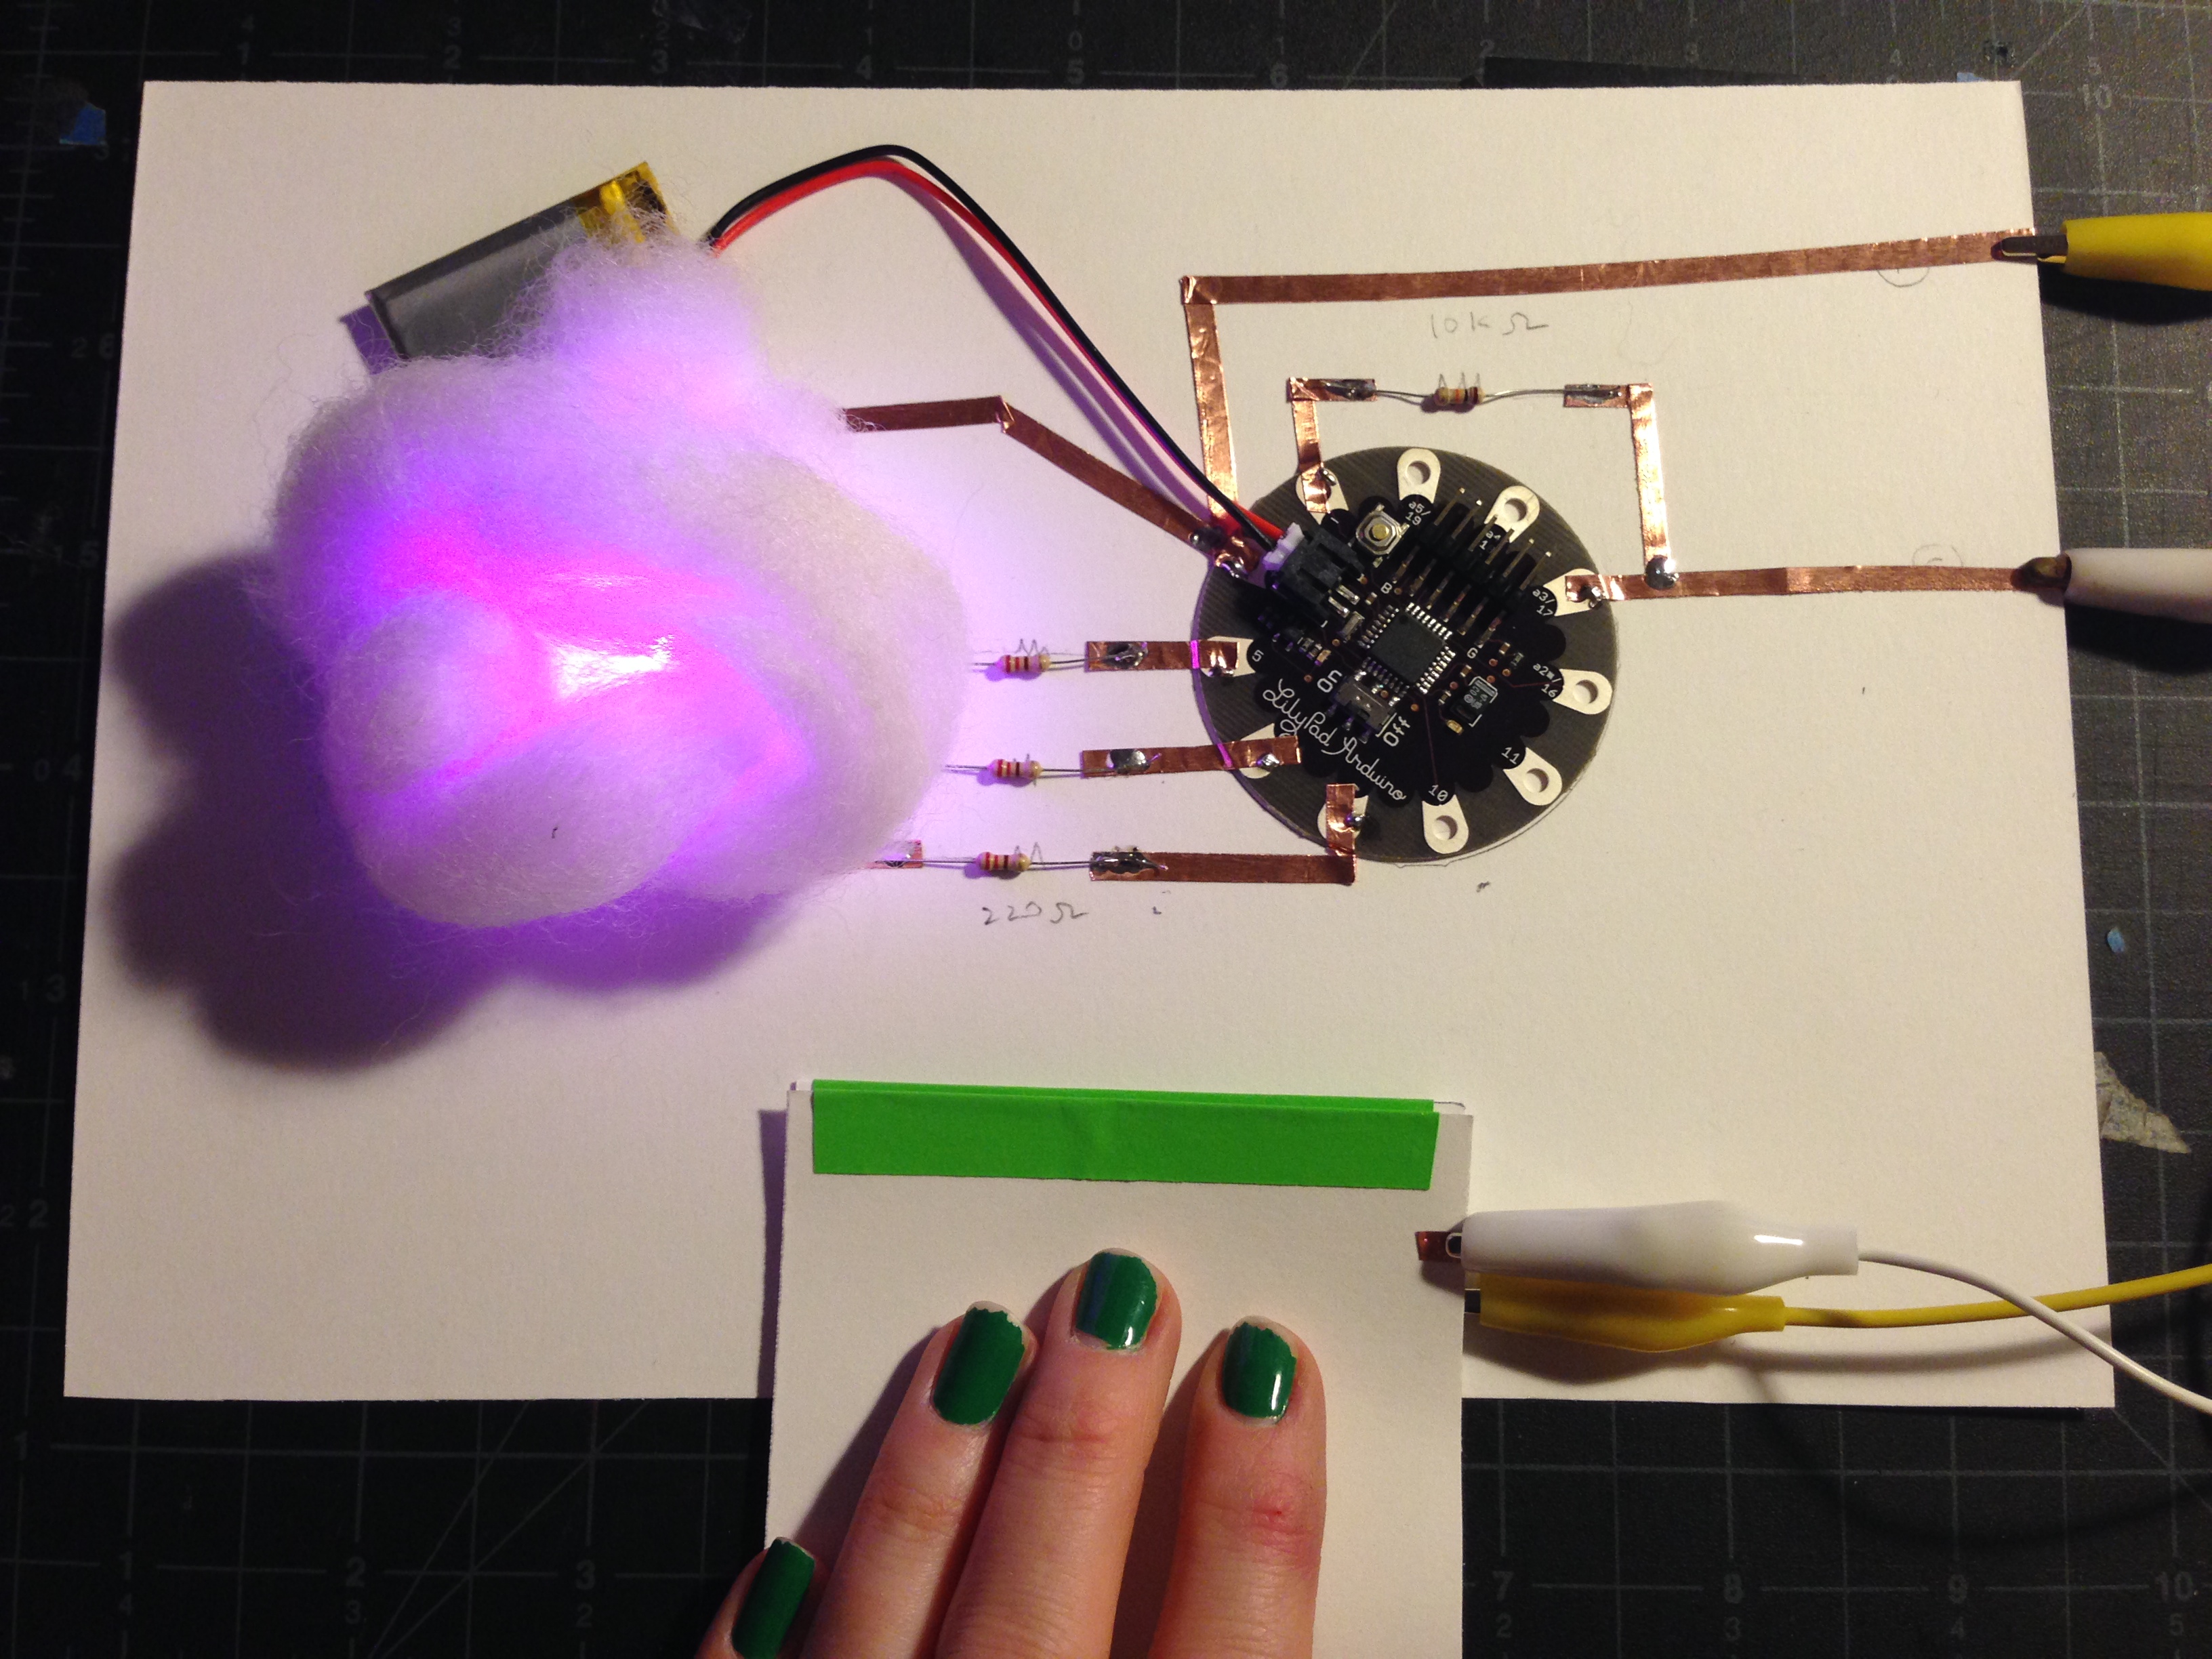
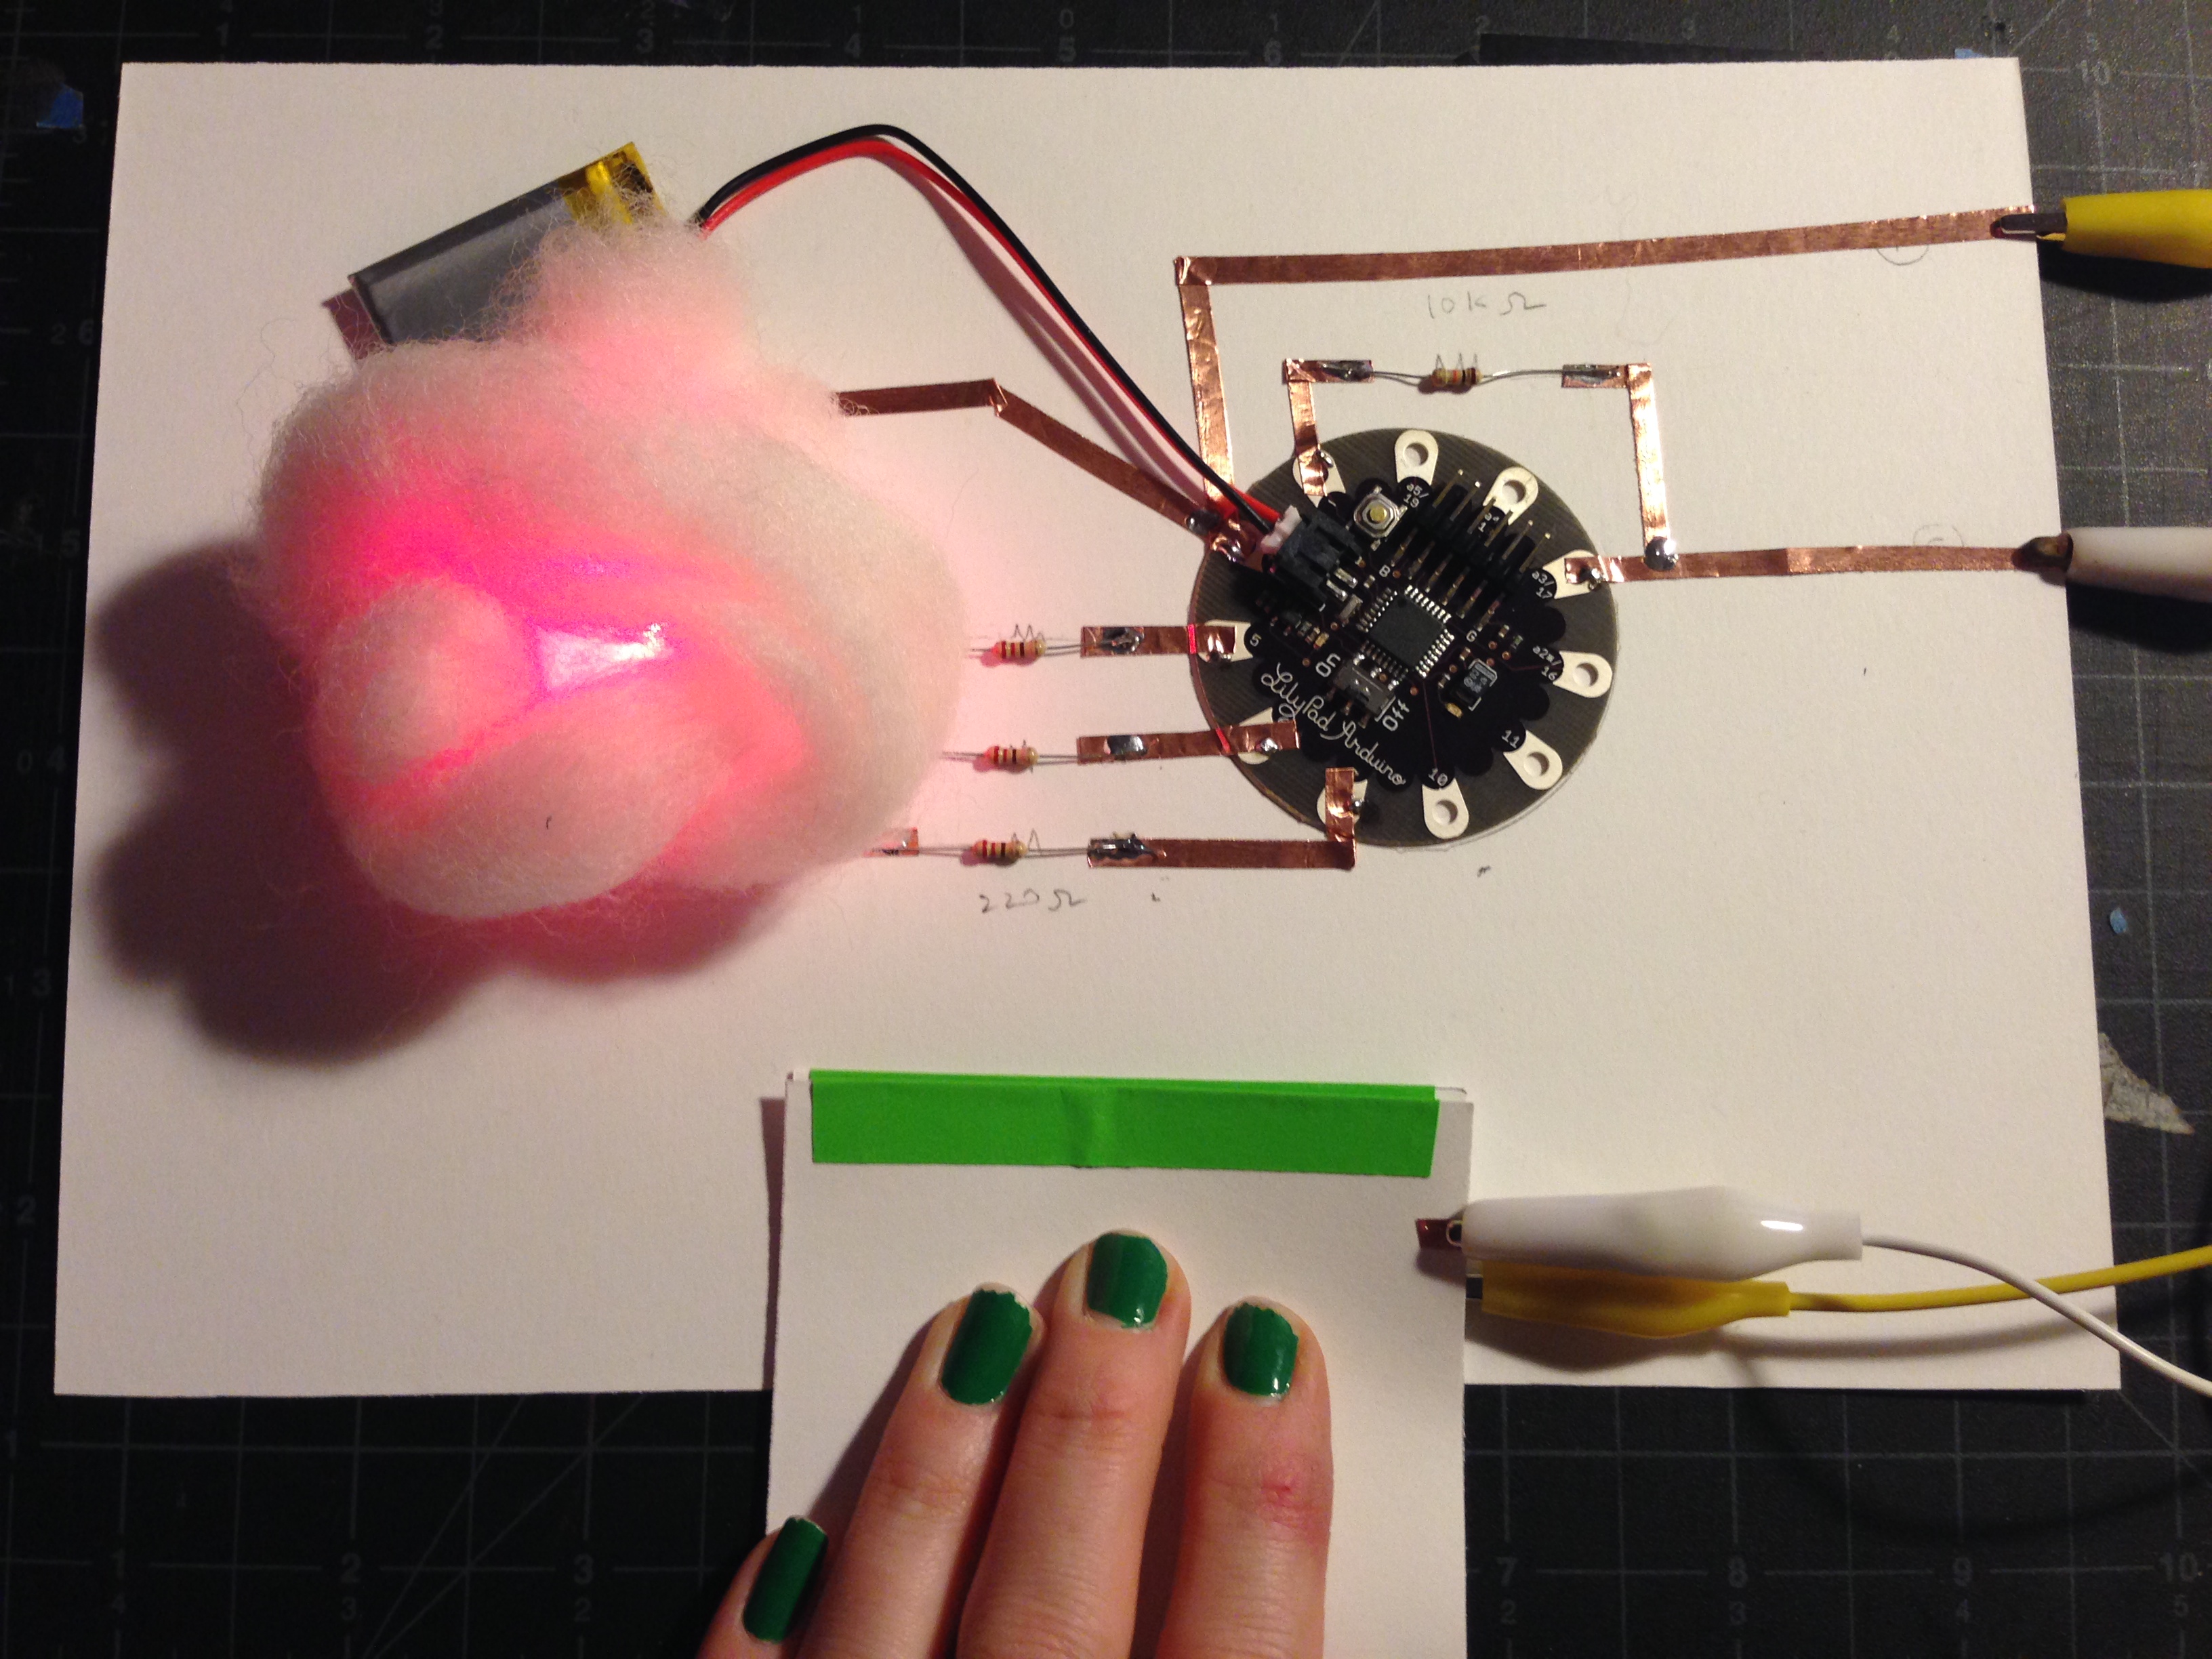
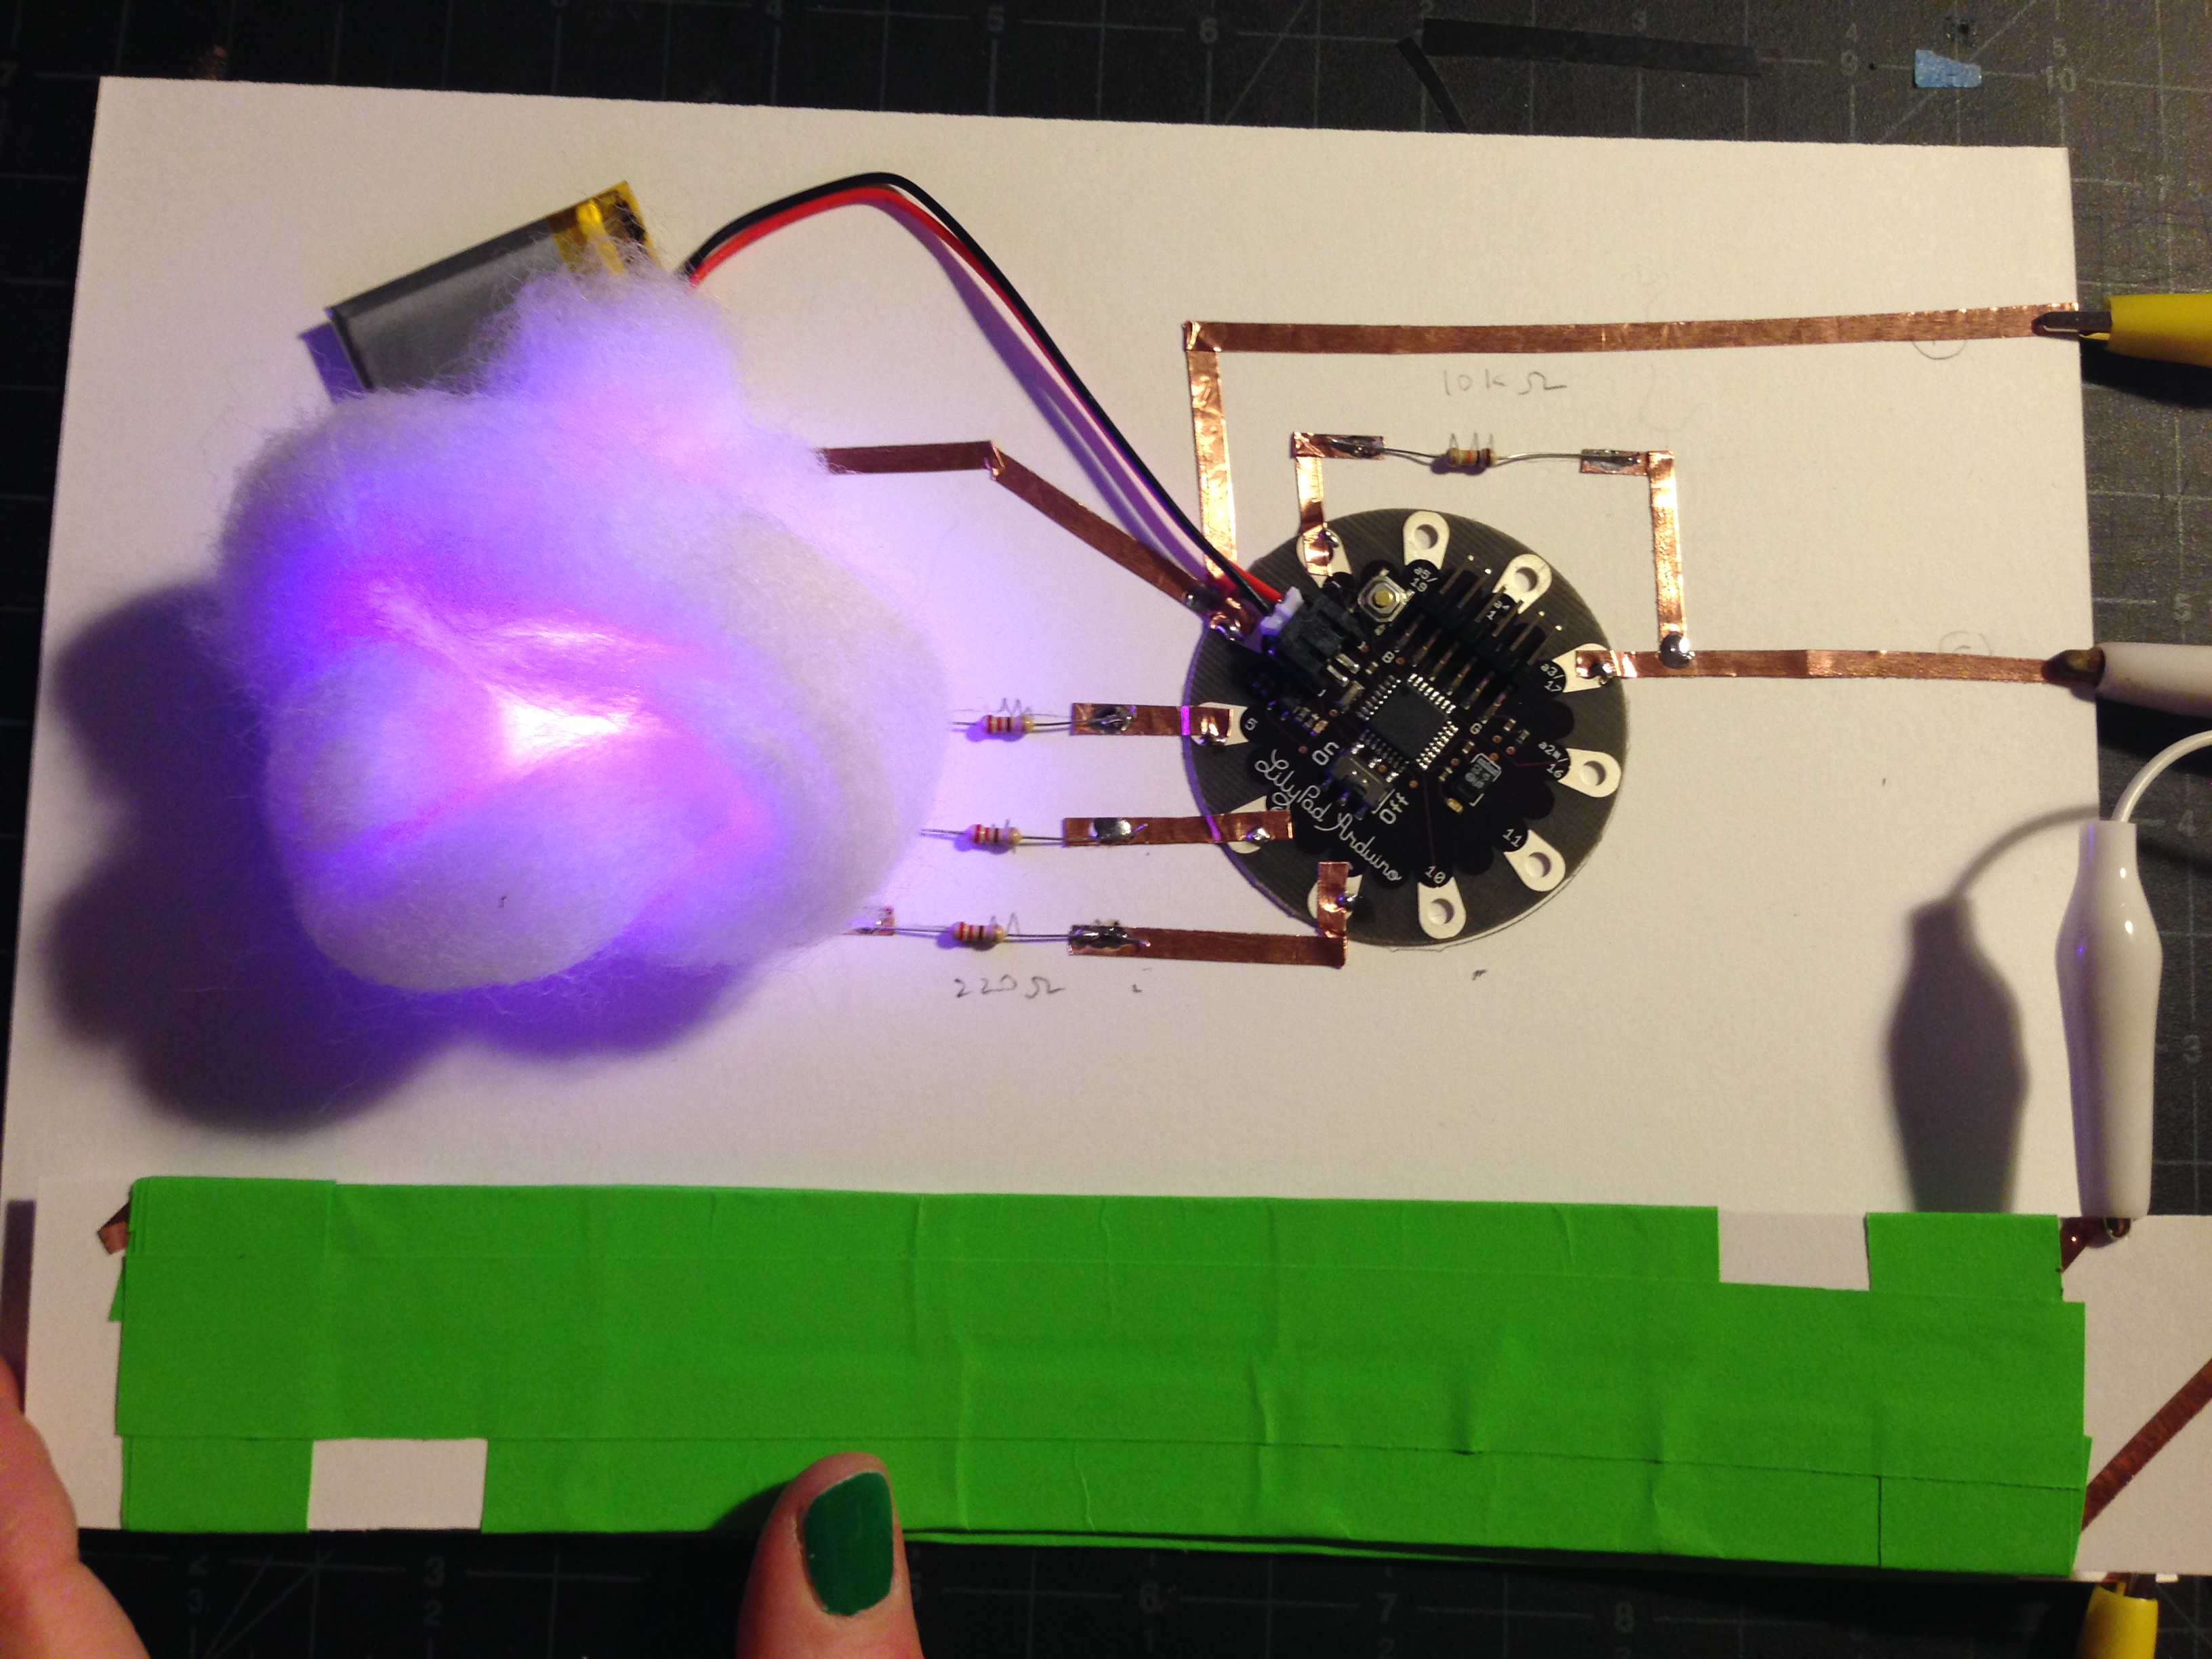
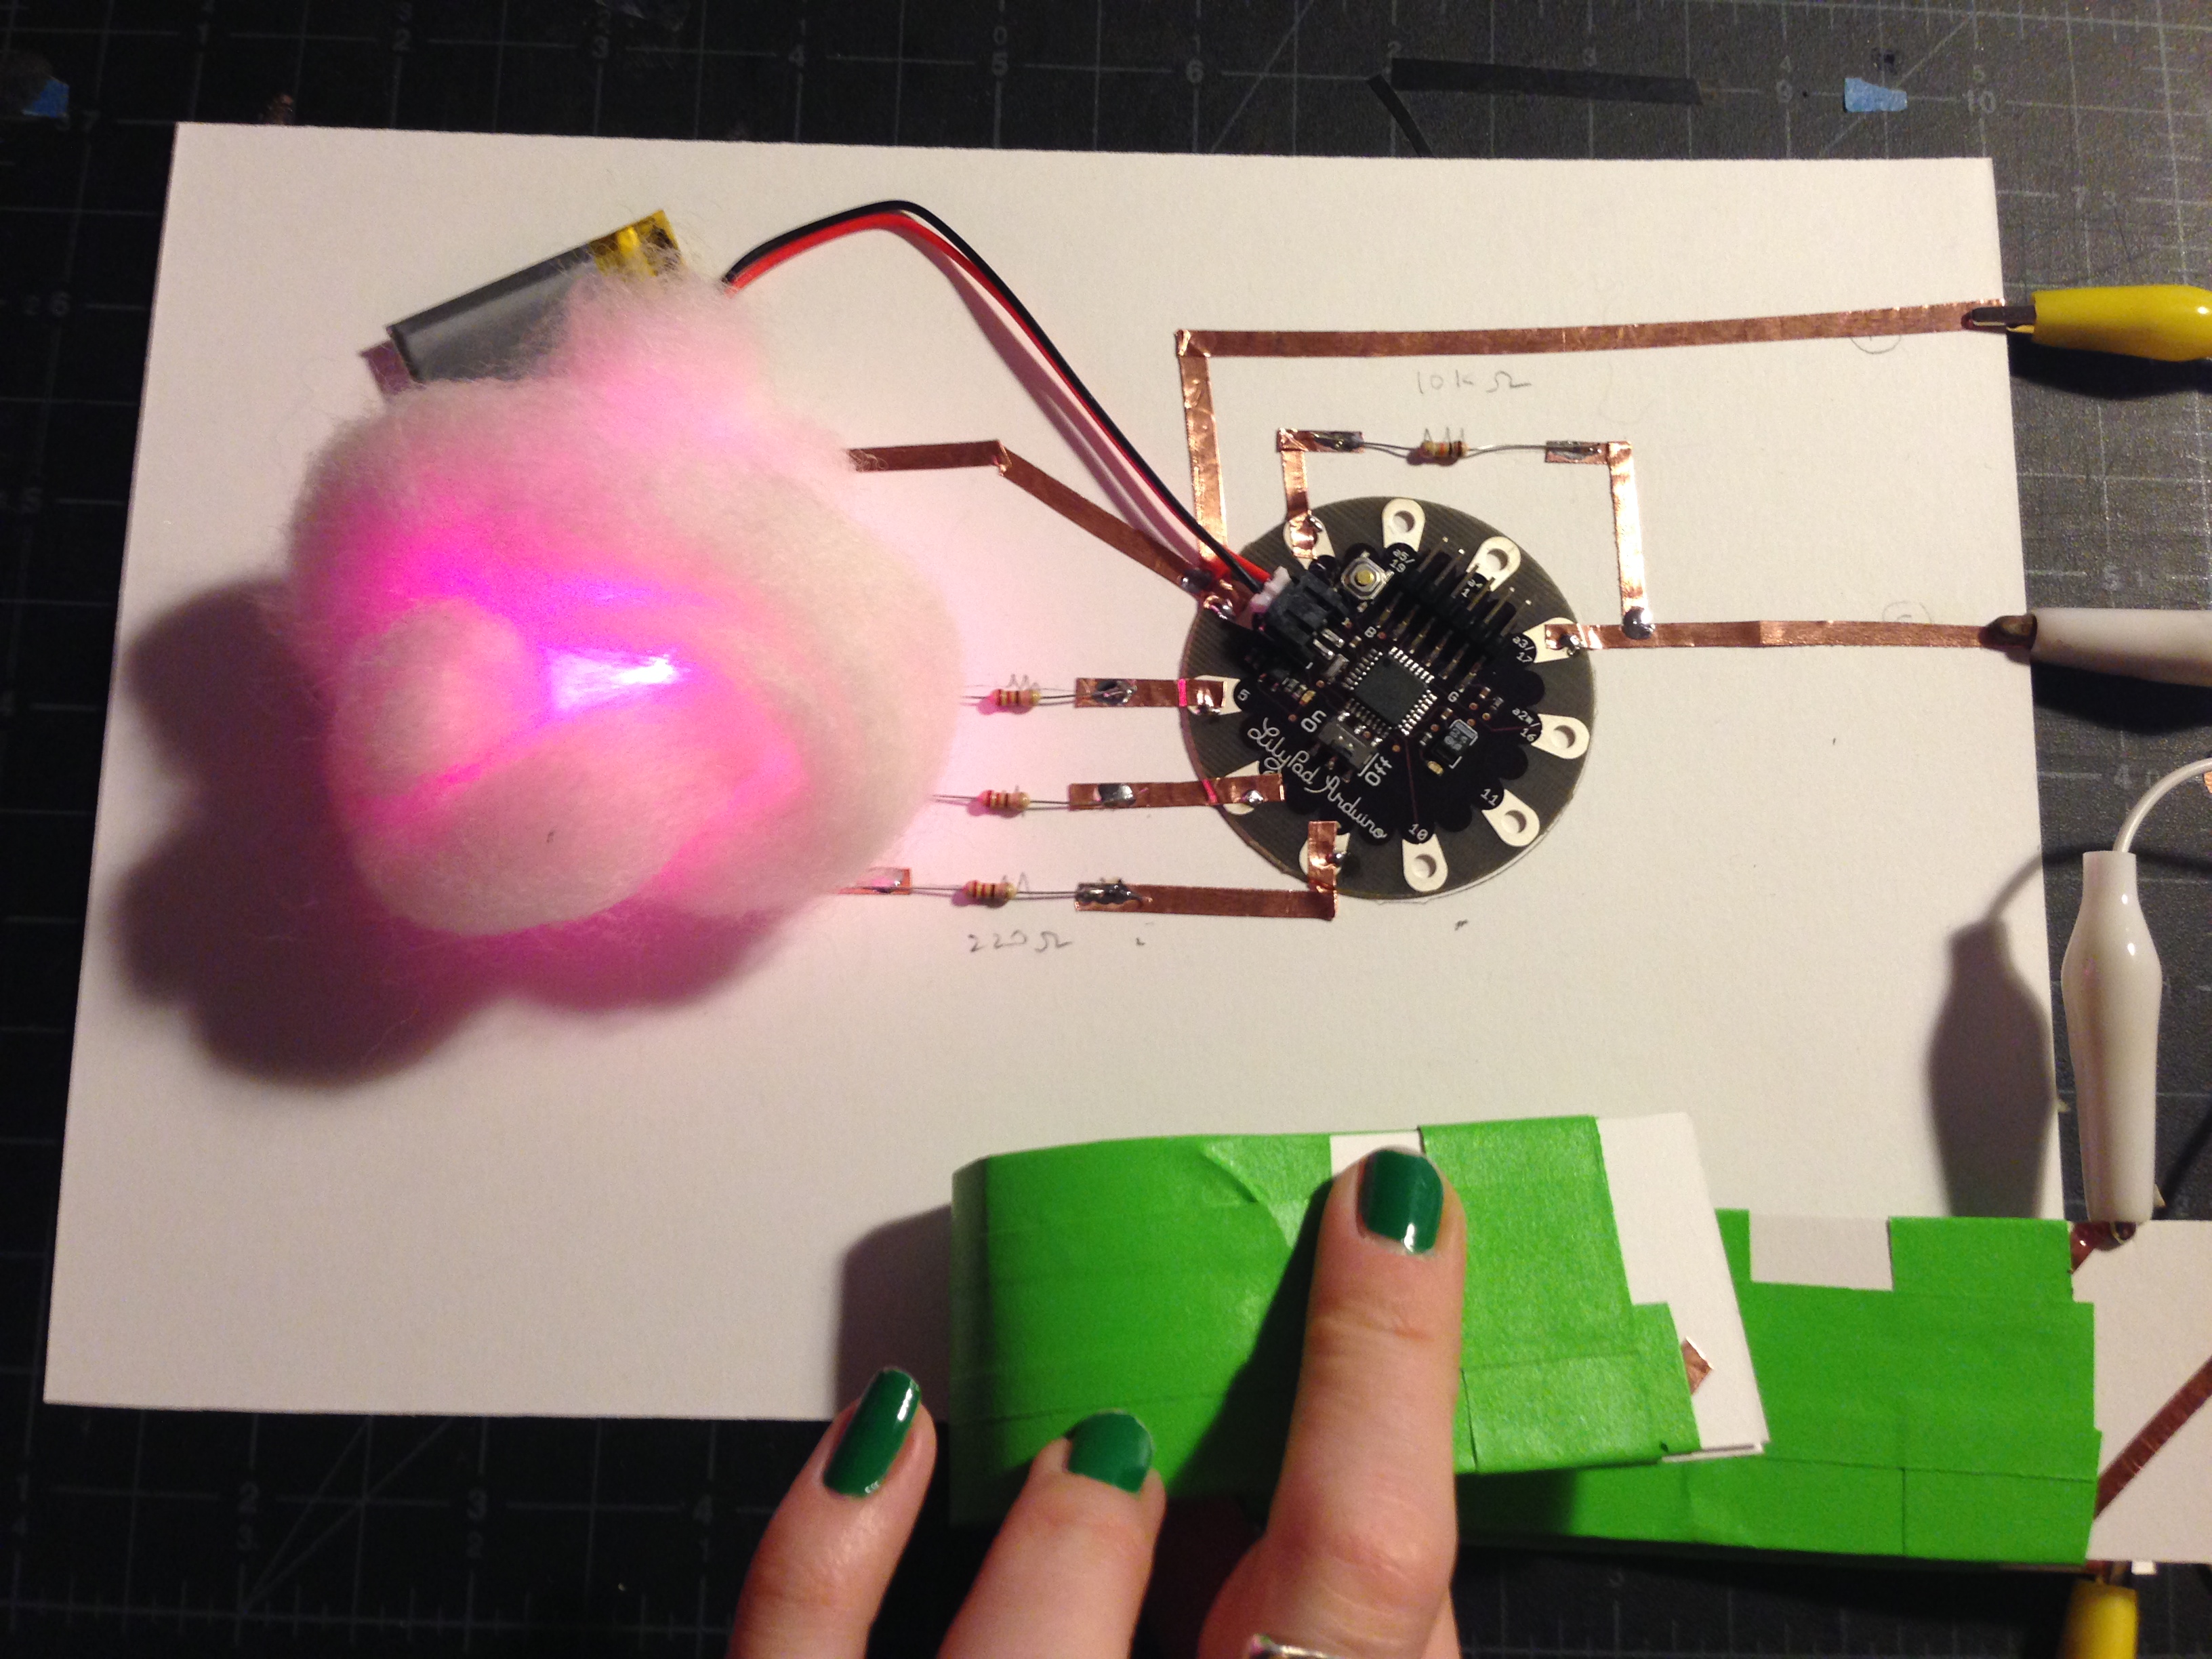
Step 5: Hook it up!
Connect the alligator clips to the two exposed pieces of copper tape and press!

Bend Sensor
Coming soon!


Making the Board
Coming soon!

1 Comment
kAi
April 10, 2014awesome! i love your work! i’m a admitted student for MFADT this fall. i have great interest in this area. i can’t wait for creating something like these 😀